Part 4: Export Media
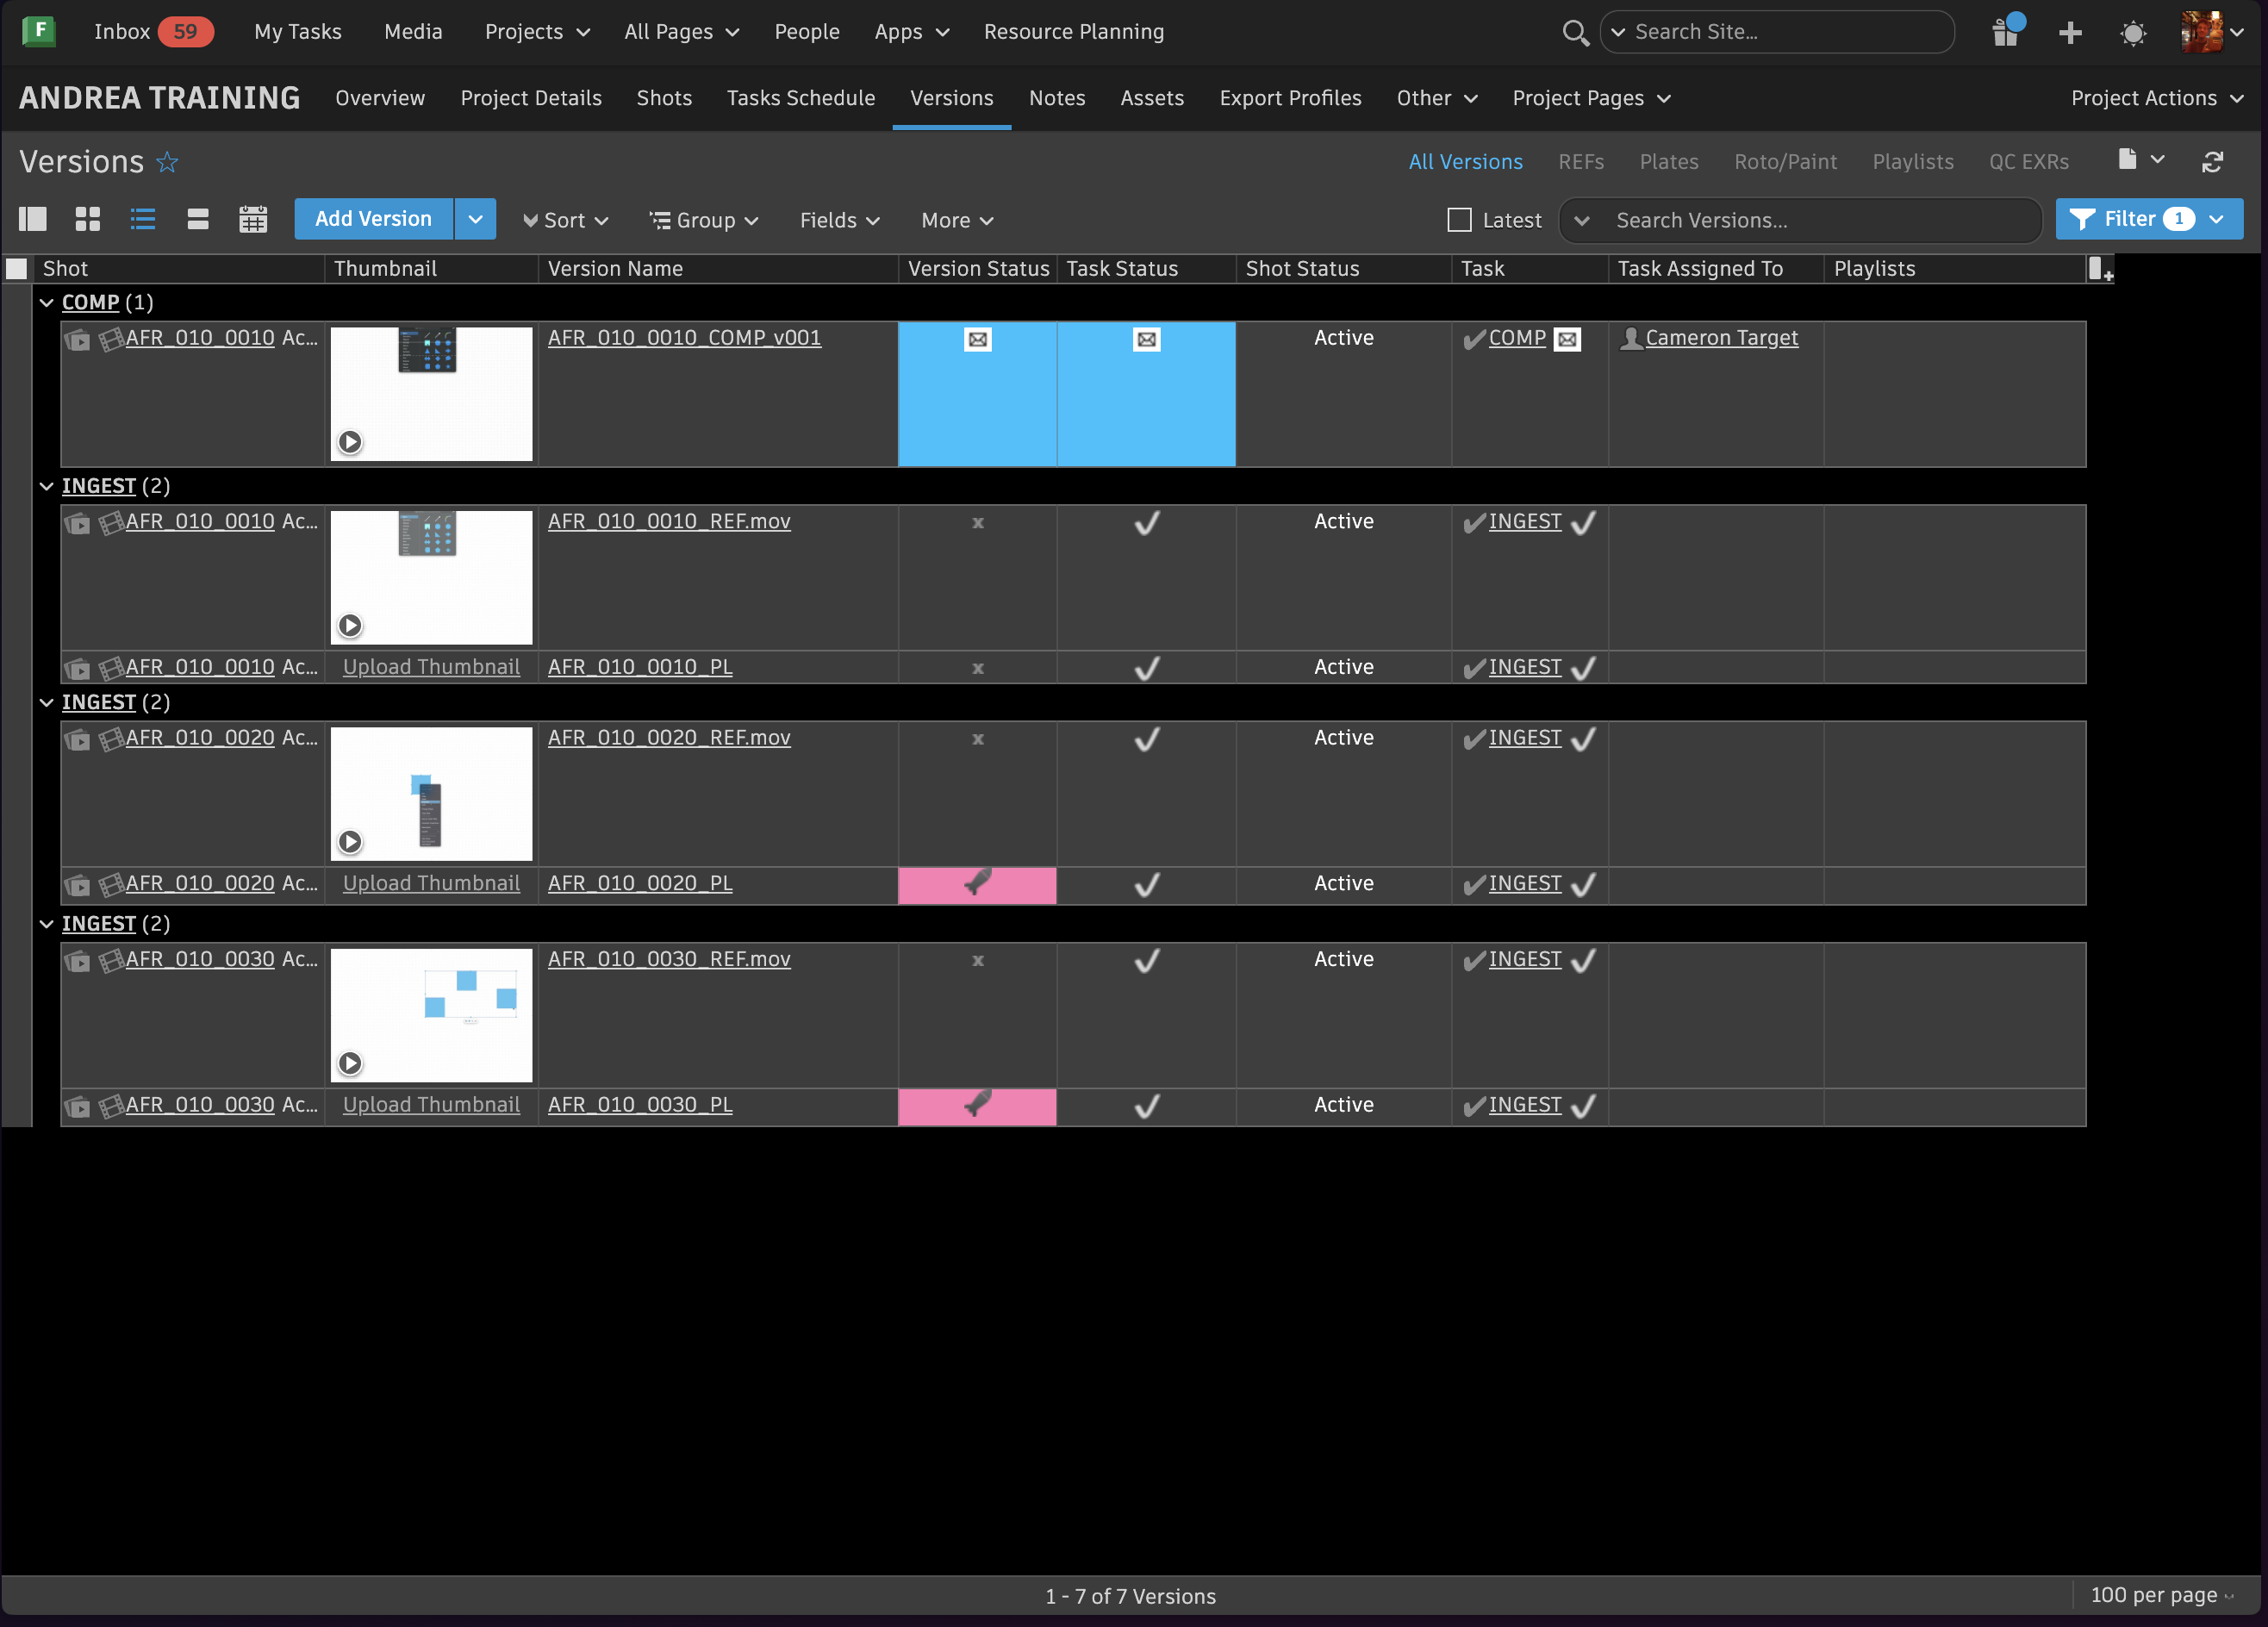
Once the artist has completed their work and the assets are ready to be sent to client, the coordinator must package all internally-approved items into a playlist within Flow Production Tracking. This ensures that everything is organized and ready for delivery. To do this, the coordinator can follow the steps below within the Versions tab in Flow Production Tracking:
- Revise all shots marked as Sndcli (Send to Client) or Sndwip (Internally-Approved Work in Progress for client review)
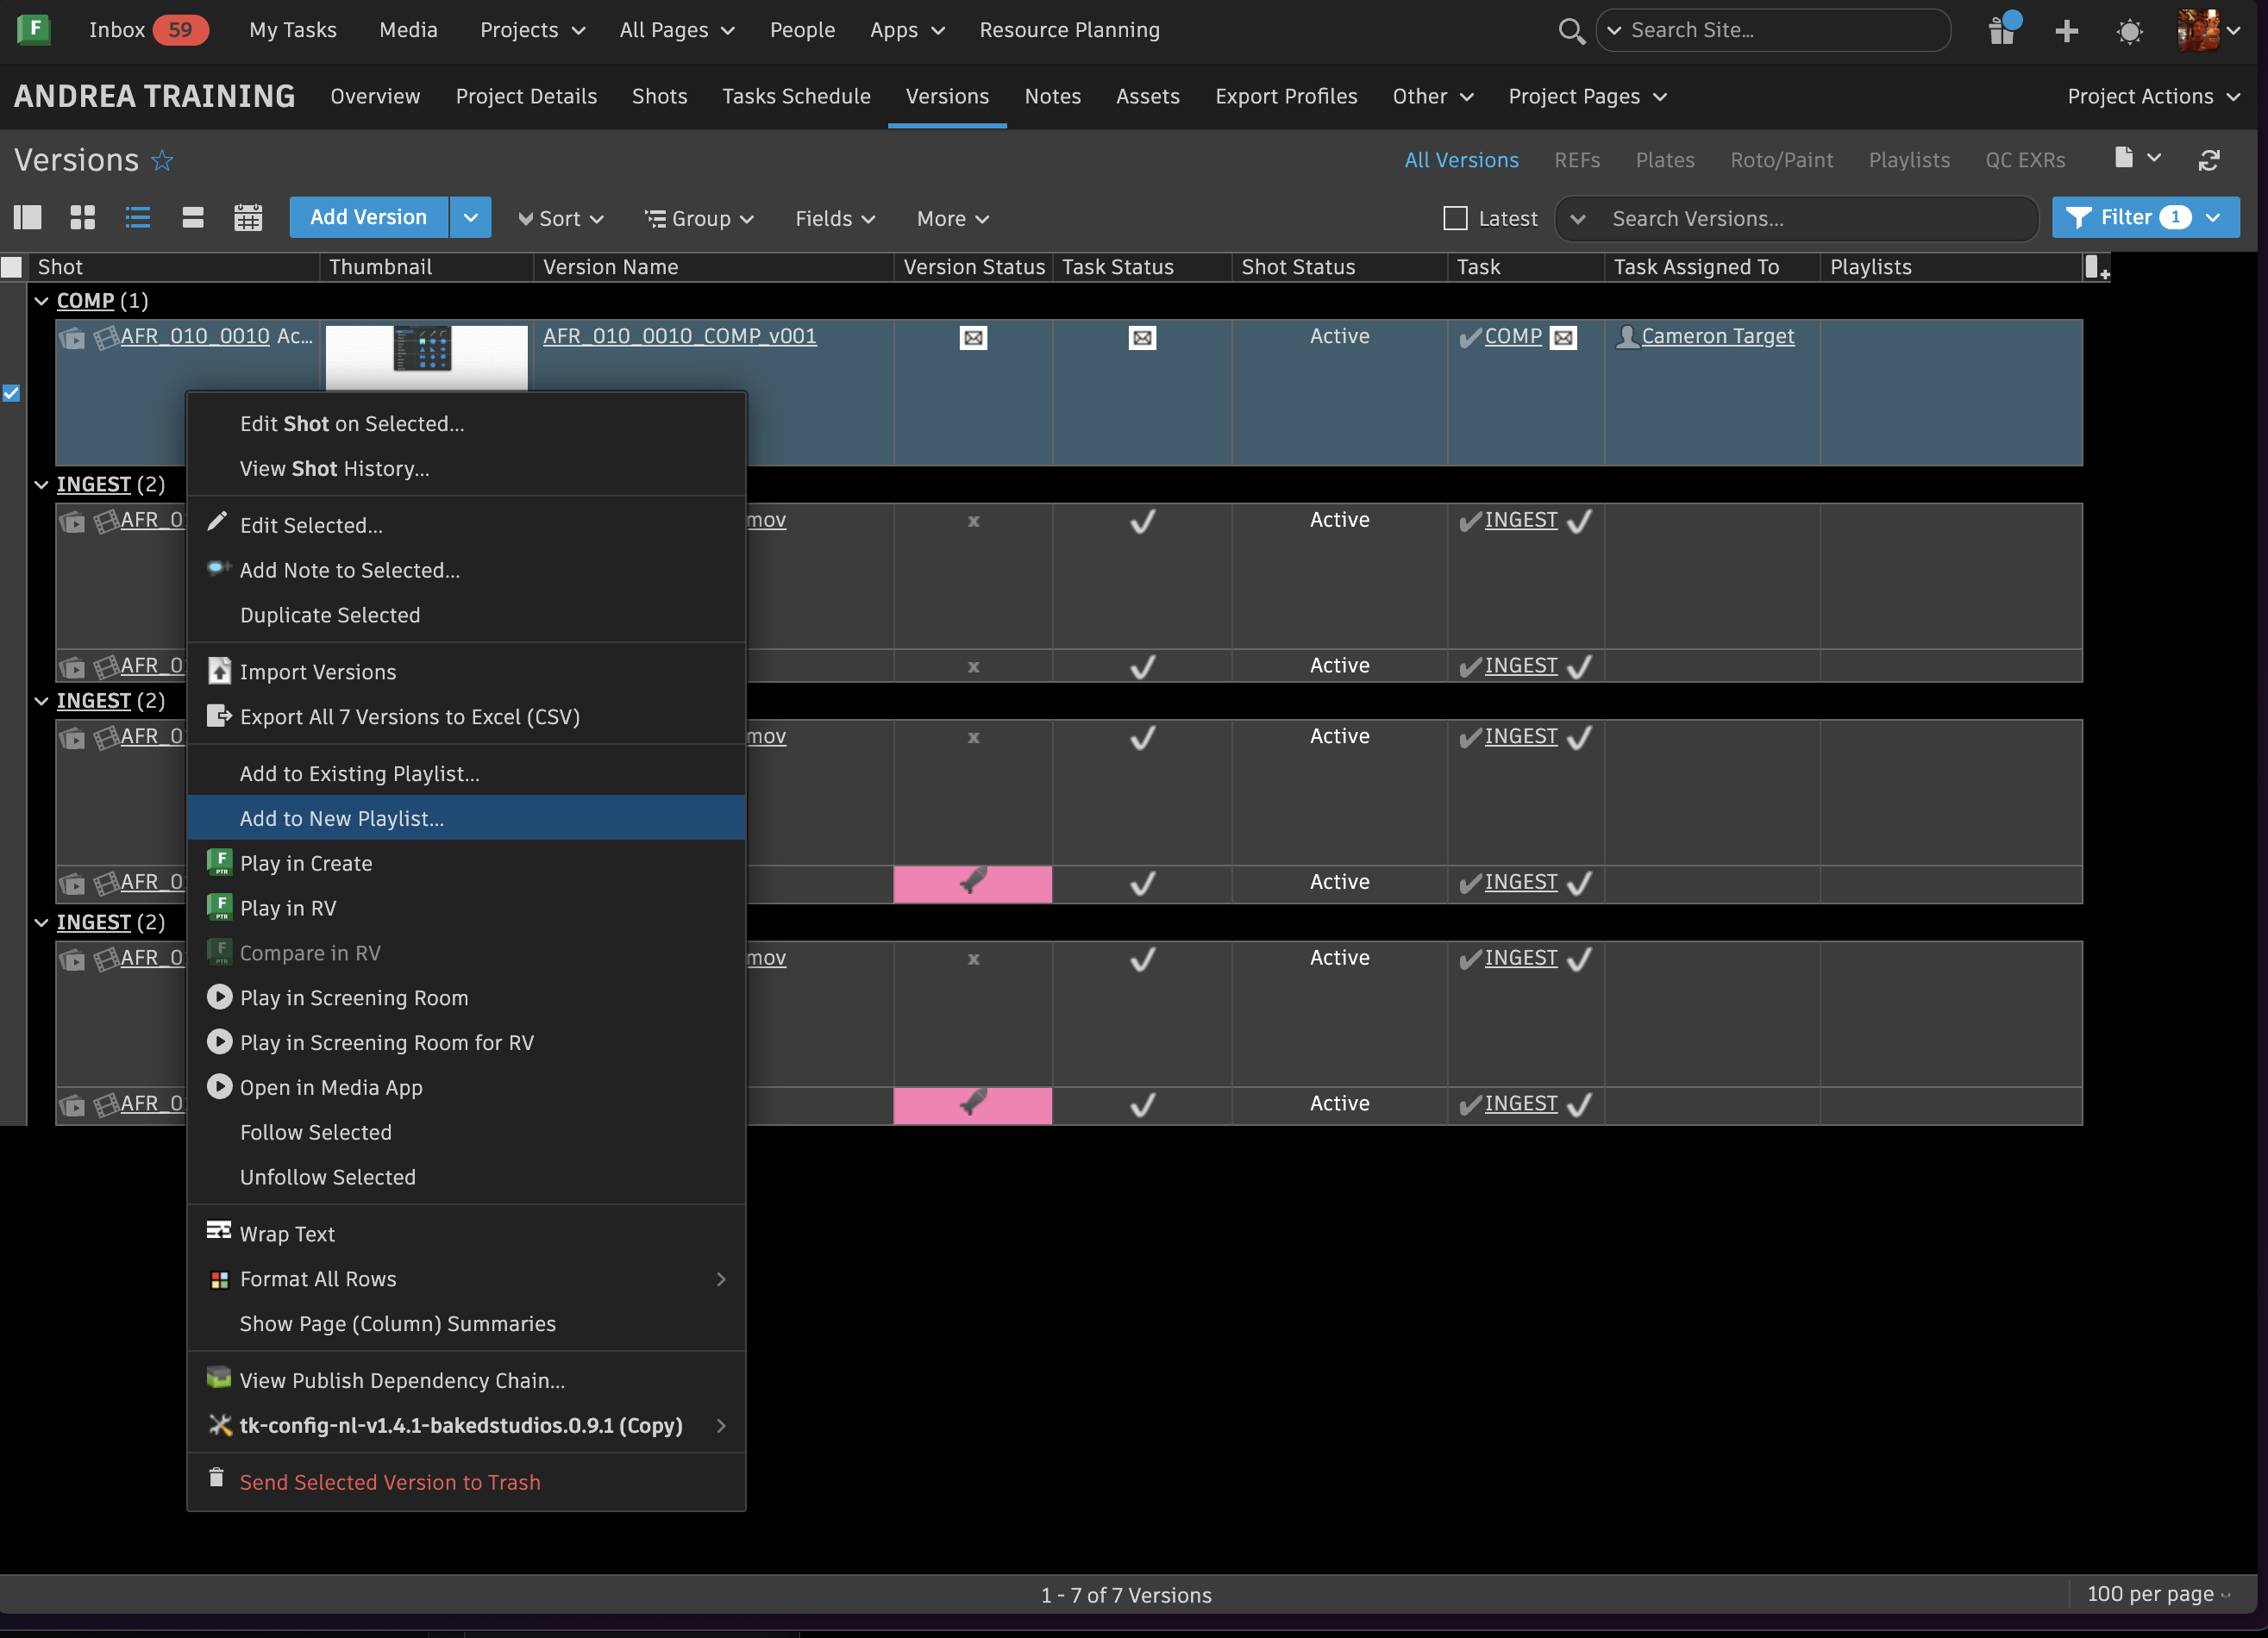
- Select the shots that are ready to be sent to the client, right click, and choose Add to New Playlist.
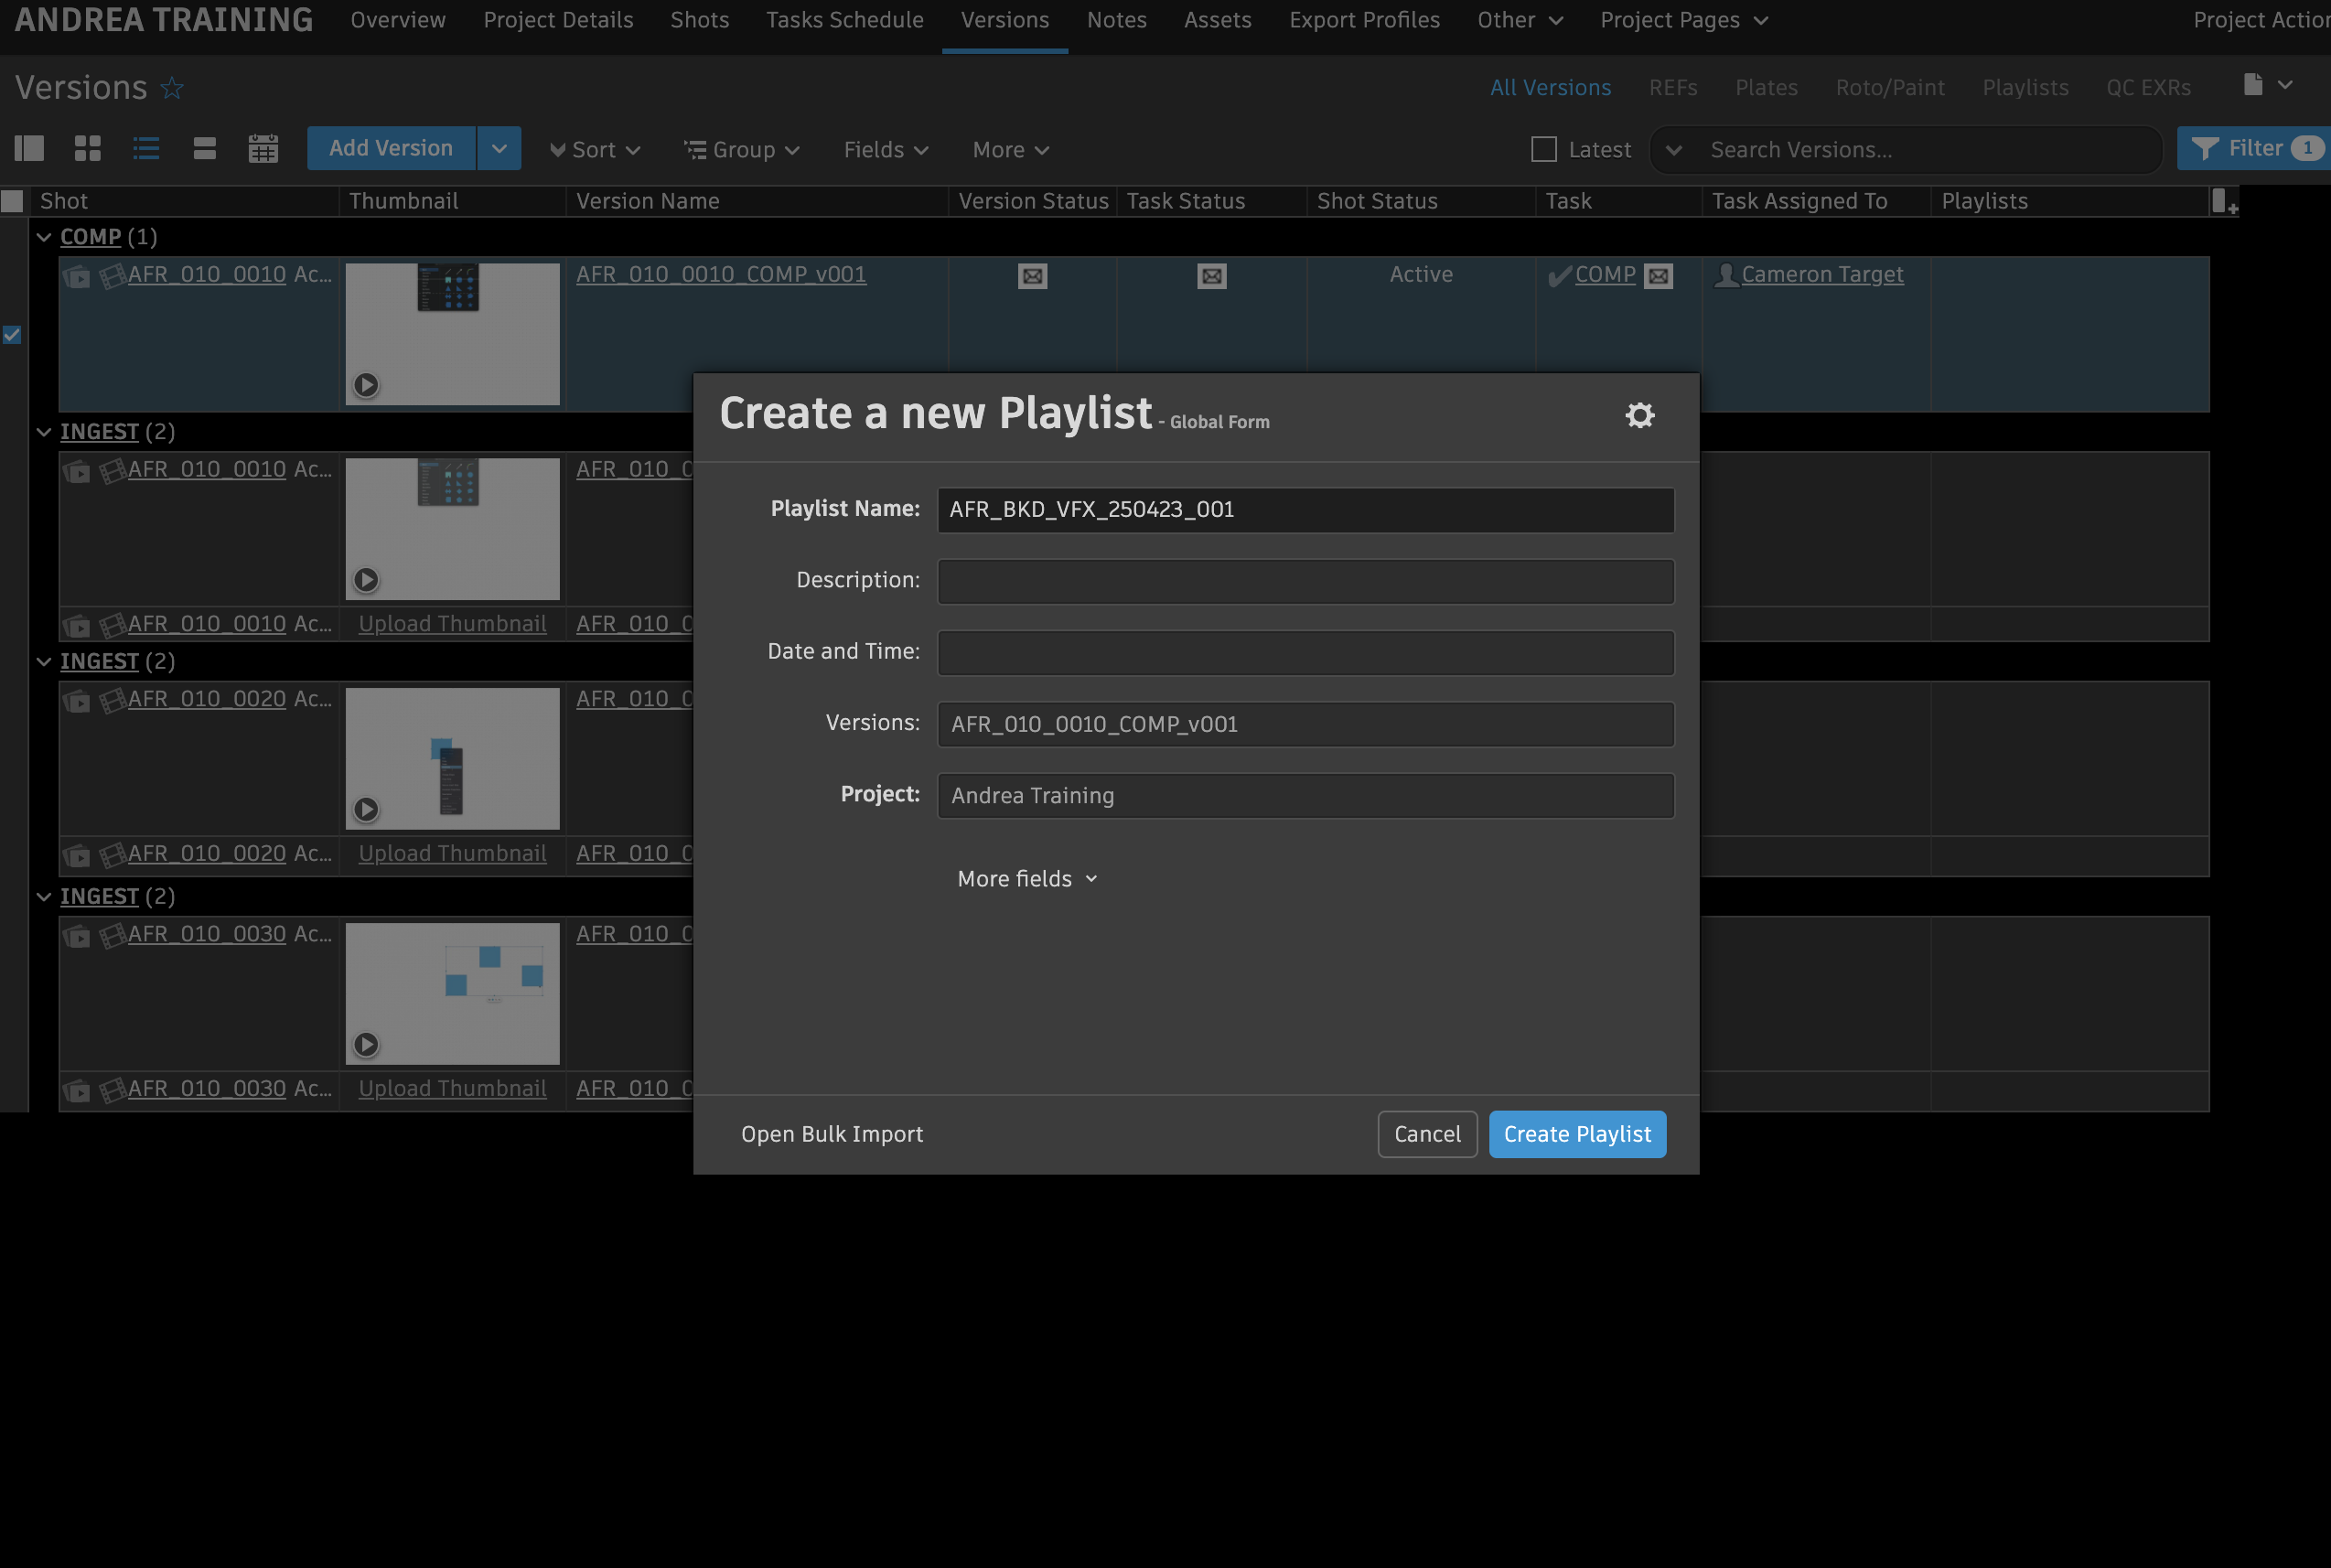
- Name the playlist using the delivery naming convention (unless otherwise specified by the client): ProjectCodeName_BKD_VFX_Date_PlaylistVersion#
Click Create Playlist within Flow Production Tracking
Change Playlist Version only if you are sending the same playlist twice on the same day.
Make sure that Client Version Name is correct by following the naming convention: ProjectCodeName_SceneNumber_ShotNumber_BKD_ClientVersionNumber
Eg. Client Version Name = AFR_010_0010_BKD_V01
Client Version Number = 1
Client Version Number is not the same as internal shot Version Number.
Also, establish what the slate should be (Note or shot description). Not every artist note should be included in the slate, so it's important to use your judgement.
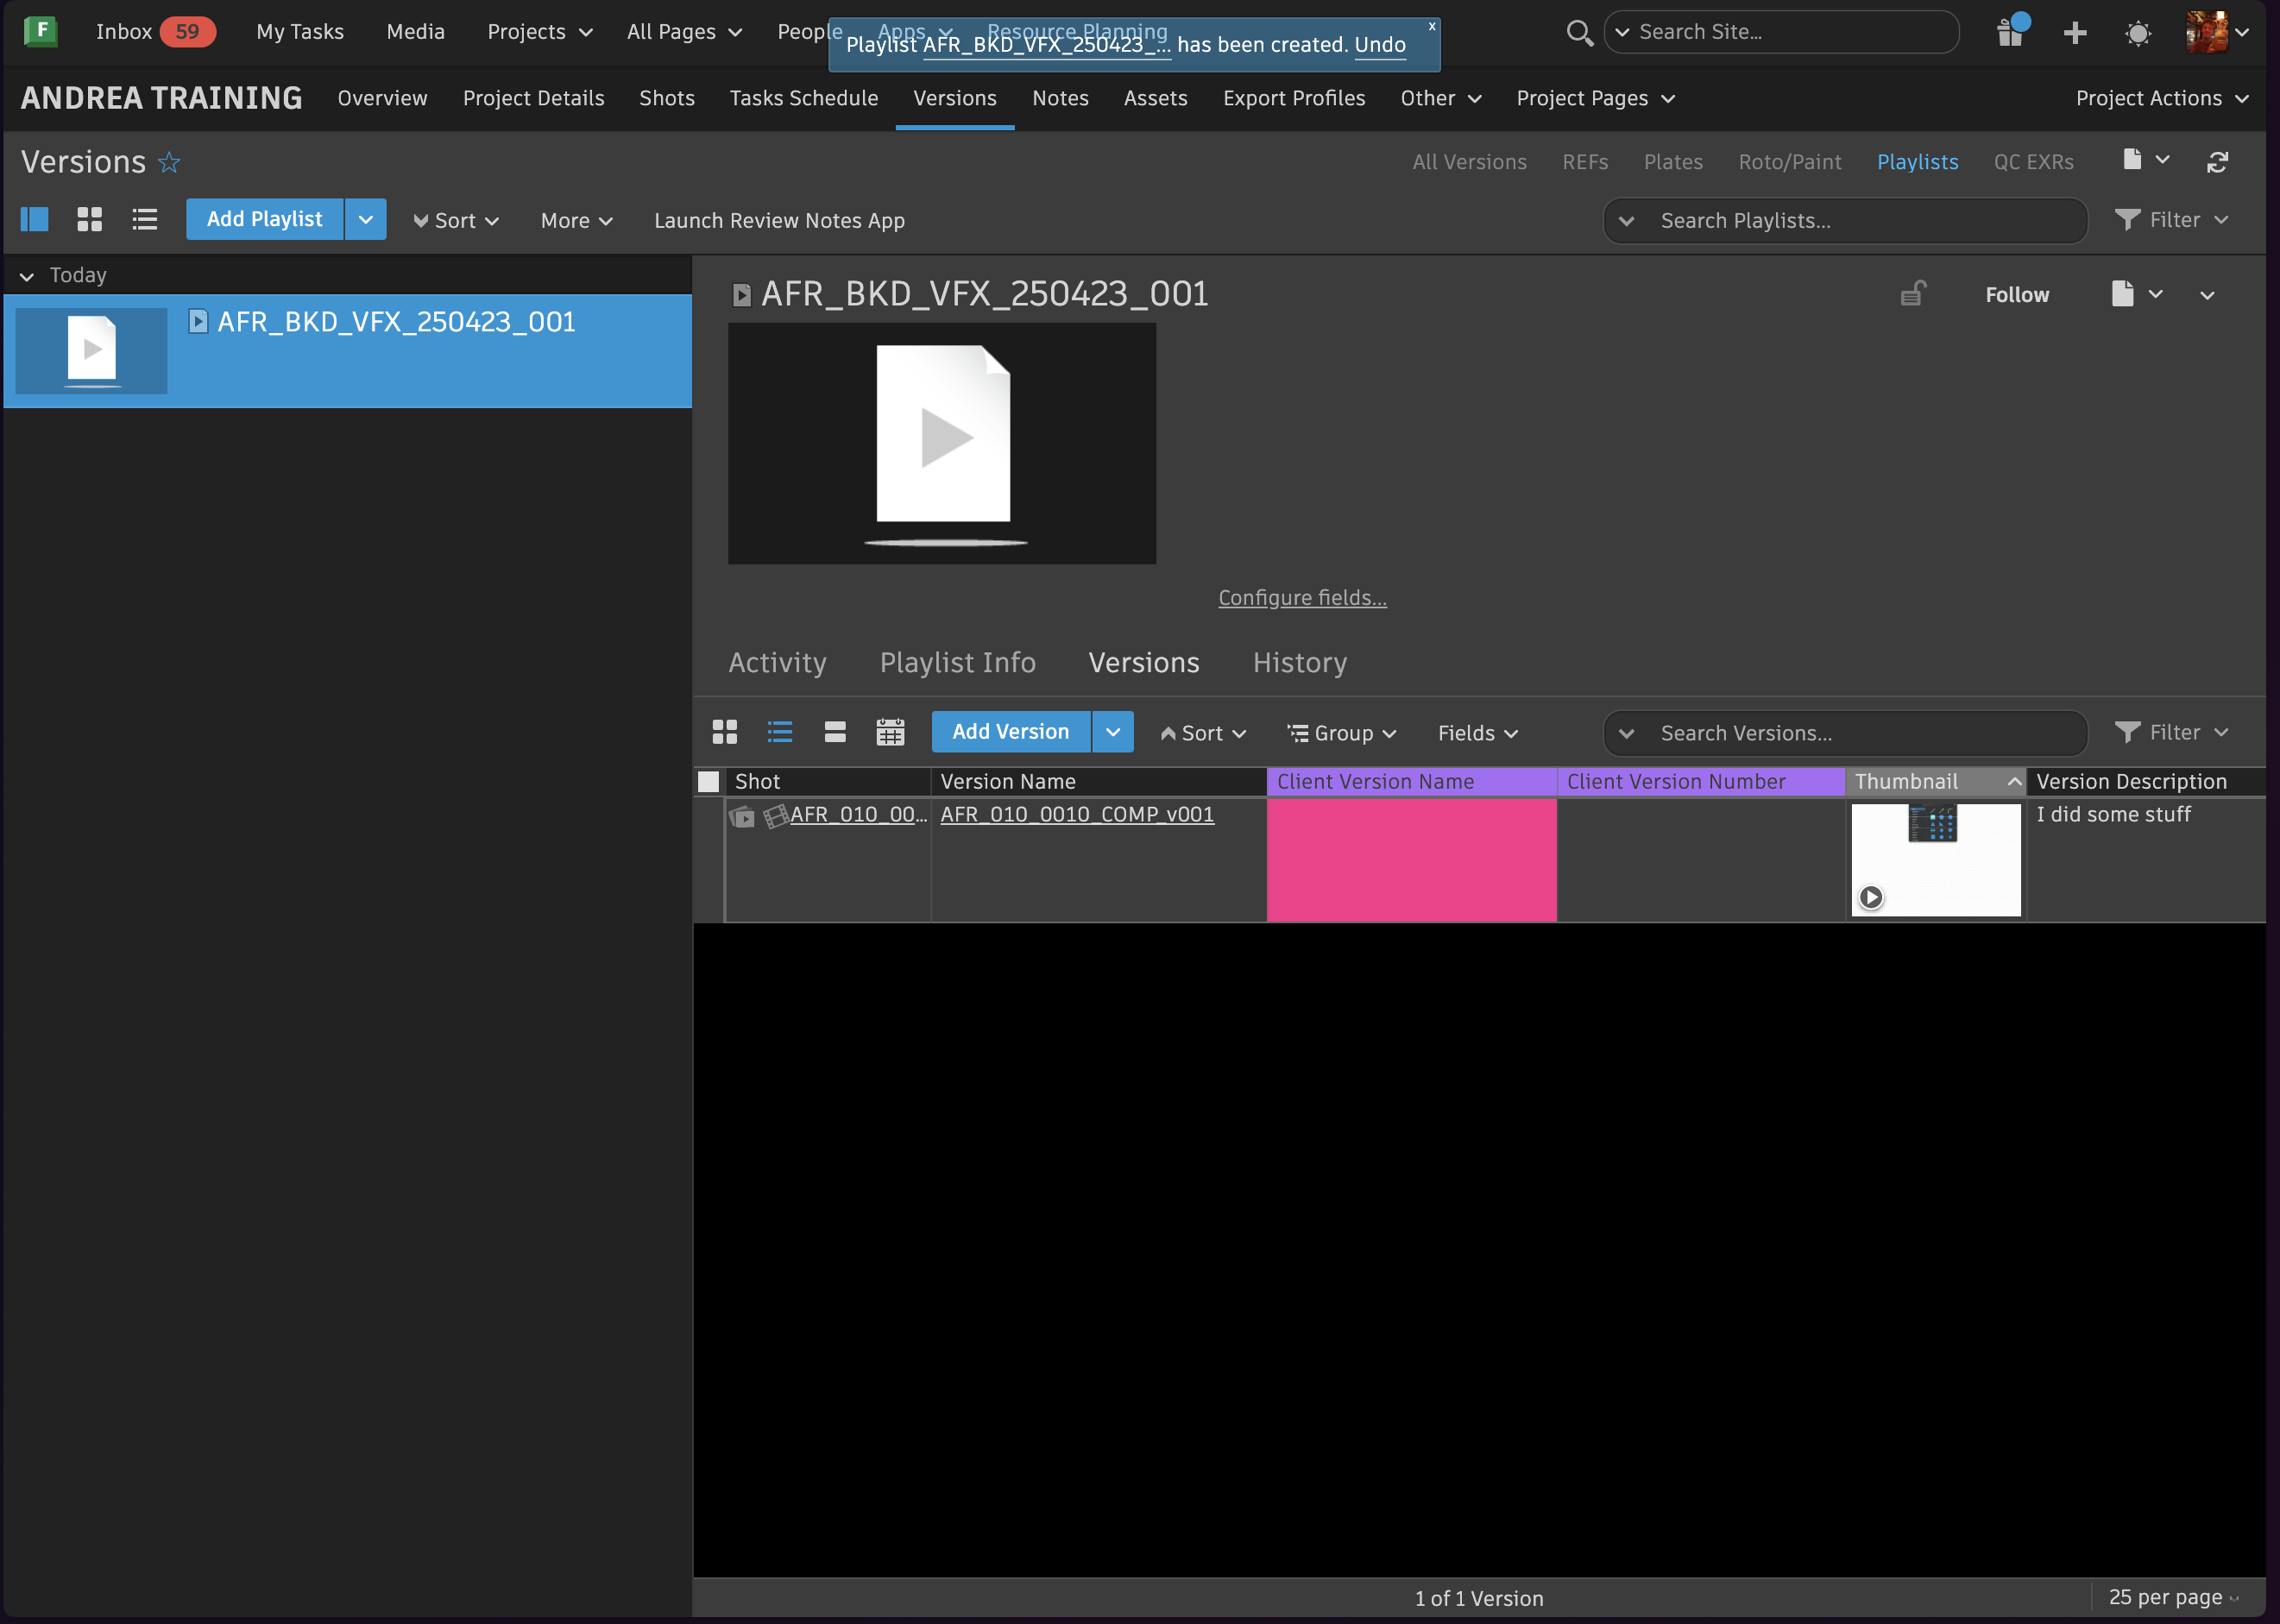
Add Client Version Name column under the Versions page in SG to keep track of client and internal versions.
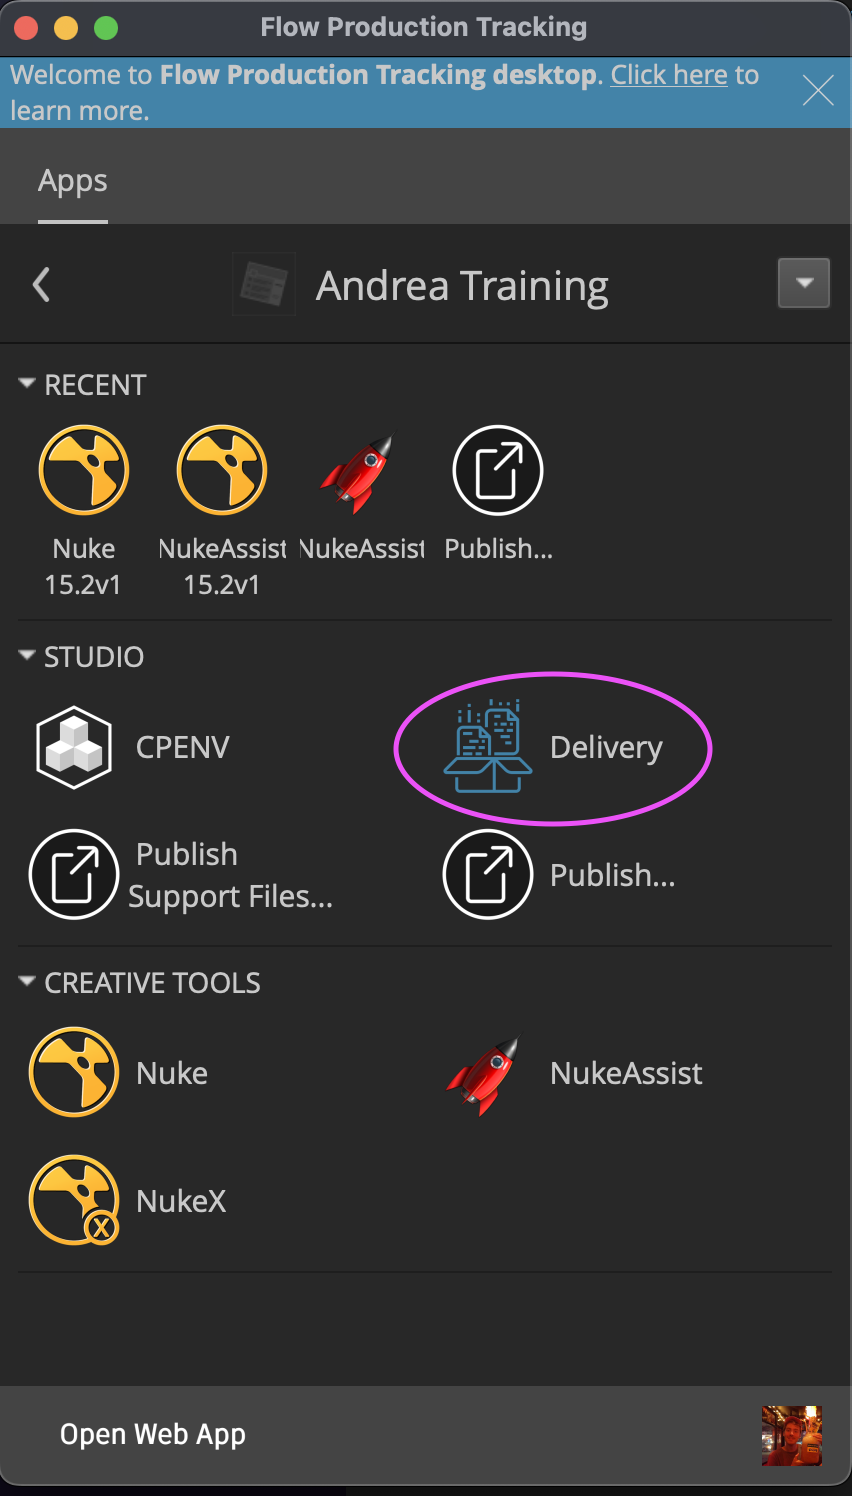
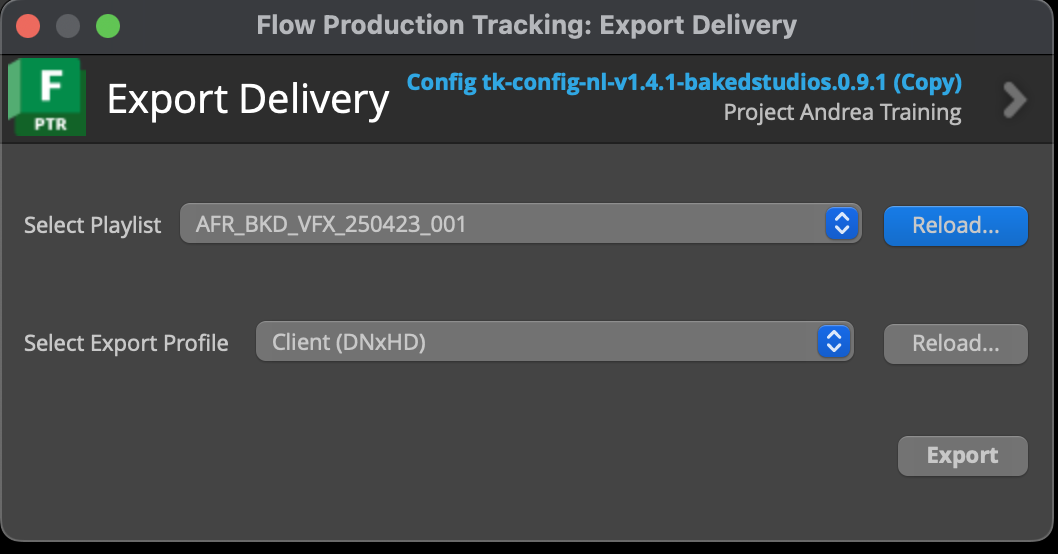
- In the Flow Production Tracking Desktop app, click delivery option and select the playlist to be sent to client, along with the correct export profile. Once this is established, click export.
All exports from this process will live under 1_I0 in Basket in the Export folder.
Best Practices: Before sending to client, open the files in Nuke and make sure everything is correct. (Frame Ranges/Resolution/Color/Codec...etc.)Compare the renders to the edit REF.
By going through the delivery process, a new ProRes is rendered from the artist's EXRs with codec: ProRes 4444. This codec provides the highest quality. On the other hand, the ProRes generated for internal review when the artist publishes their work in SG, is ProRes 422 which is of less quality.
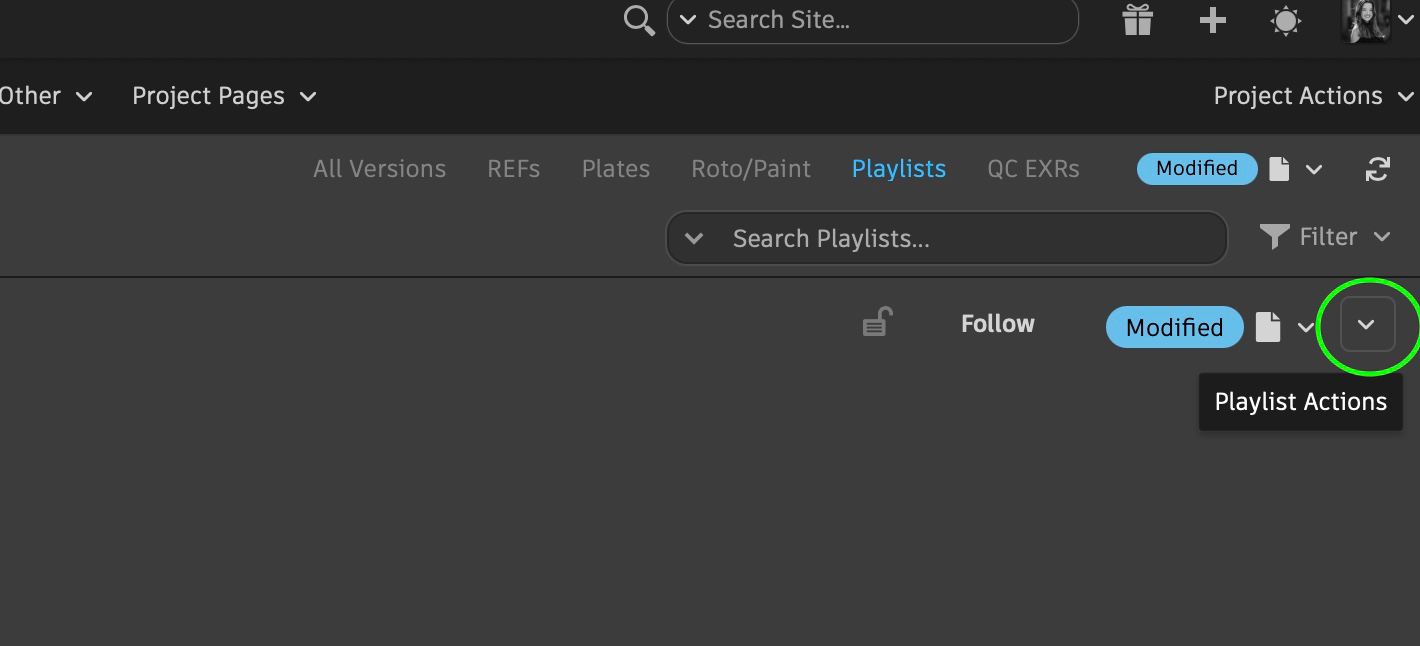
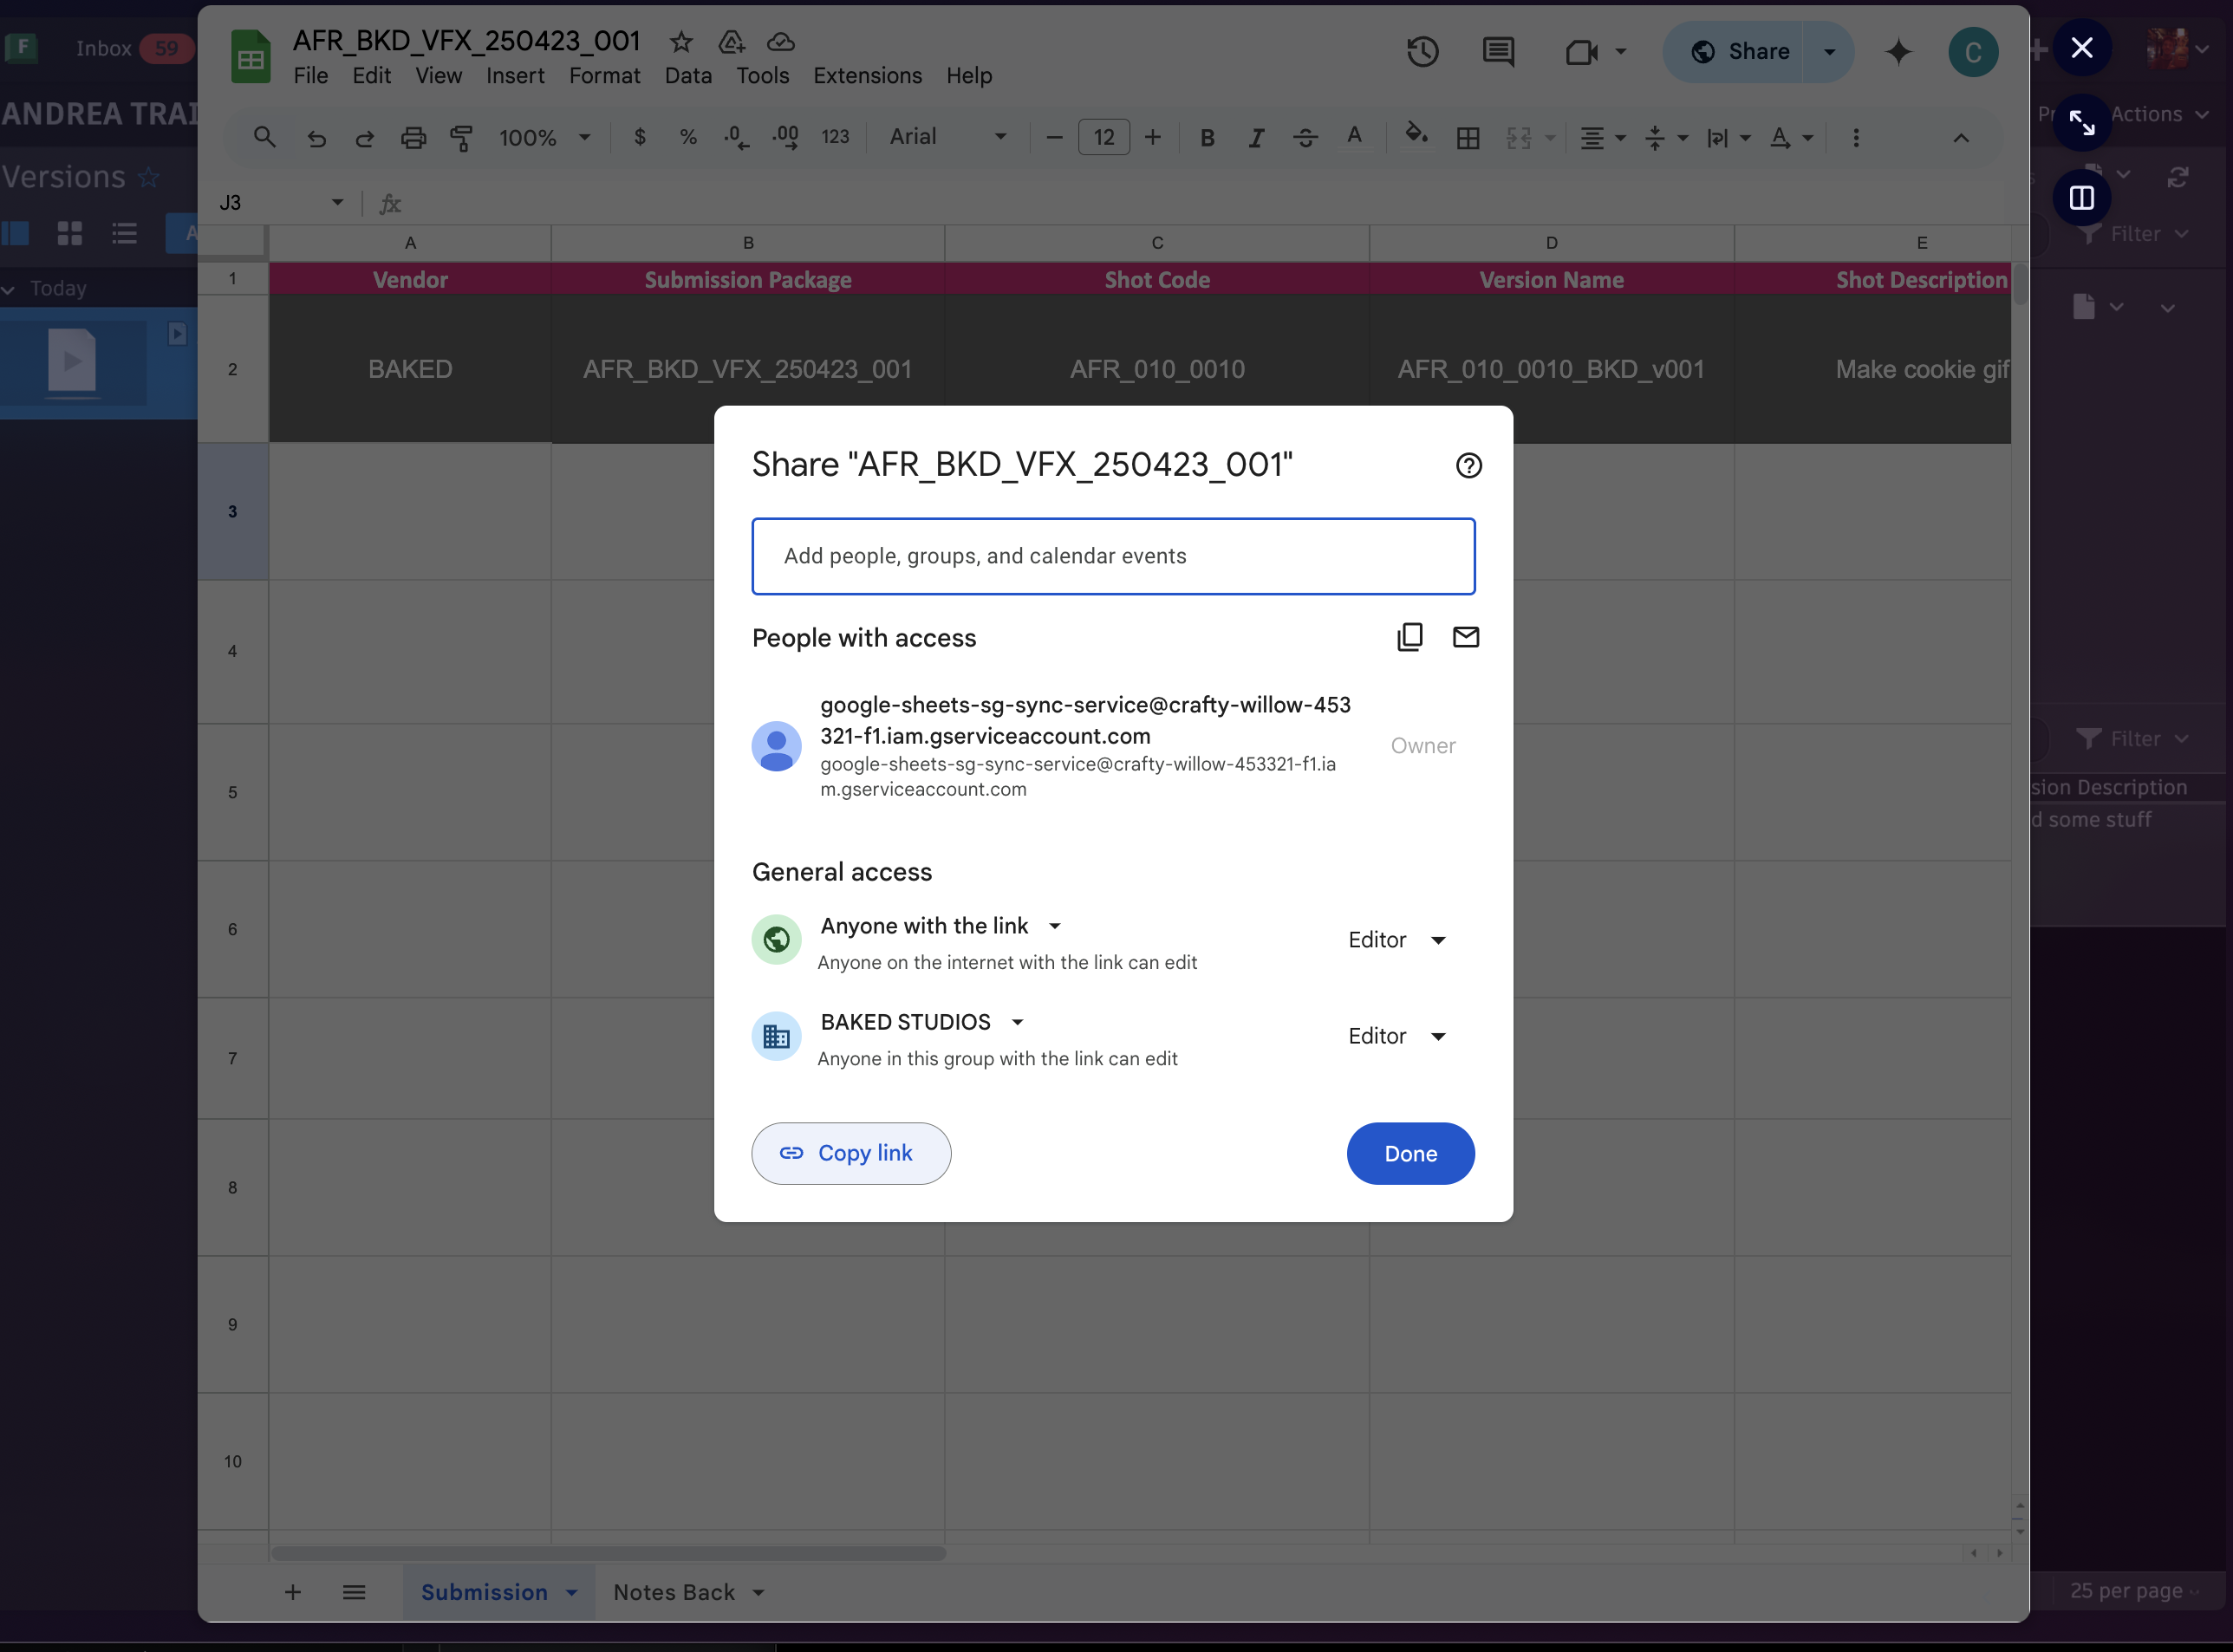
- For organization purposes, click on playlist action (far right arrow next to the detail page settings icon)and click Send to Google Sheets.

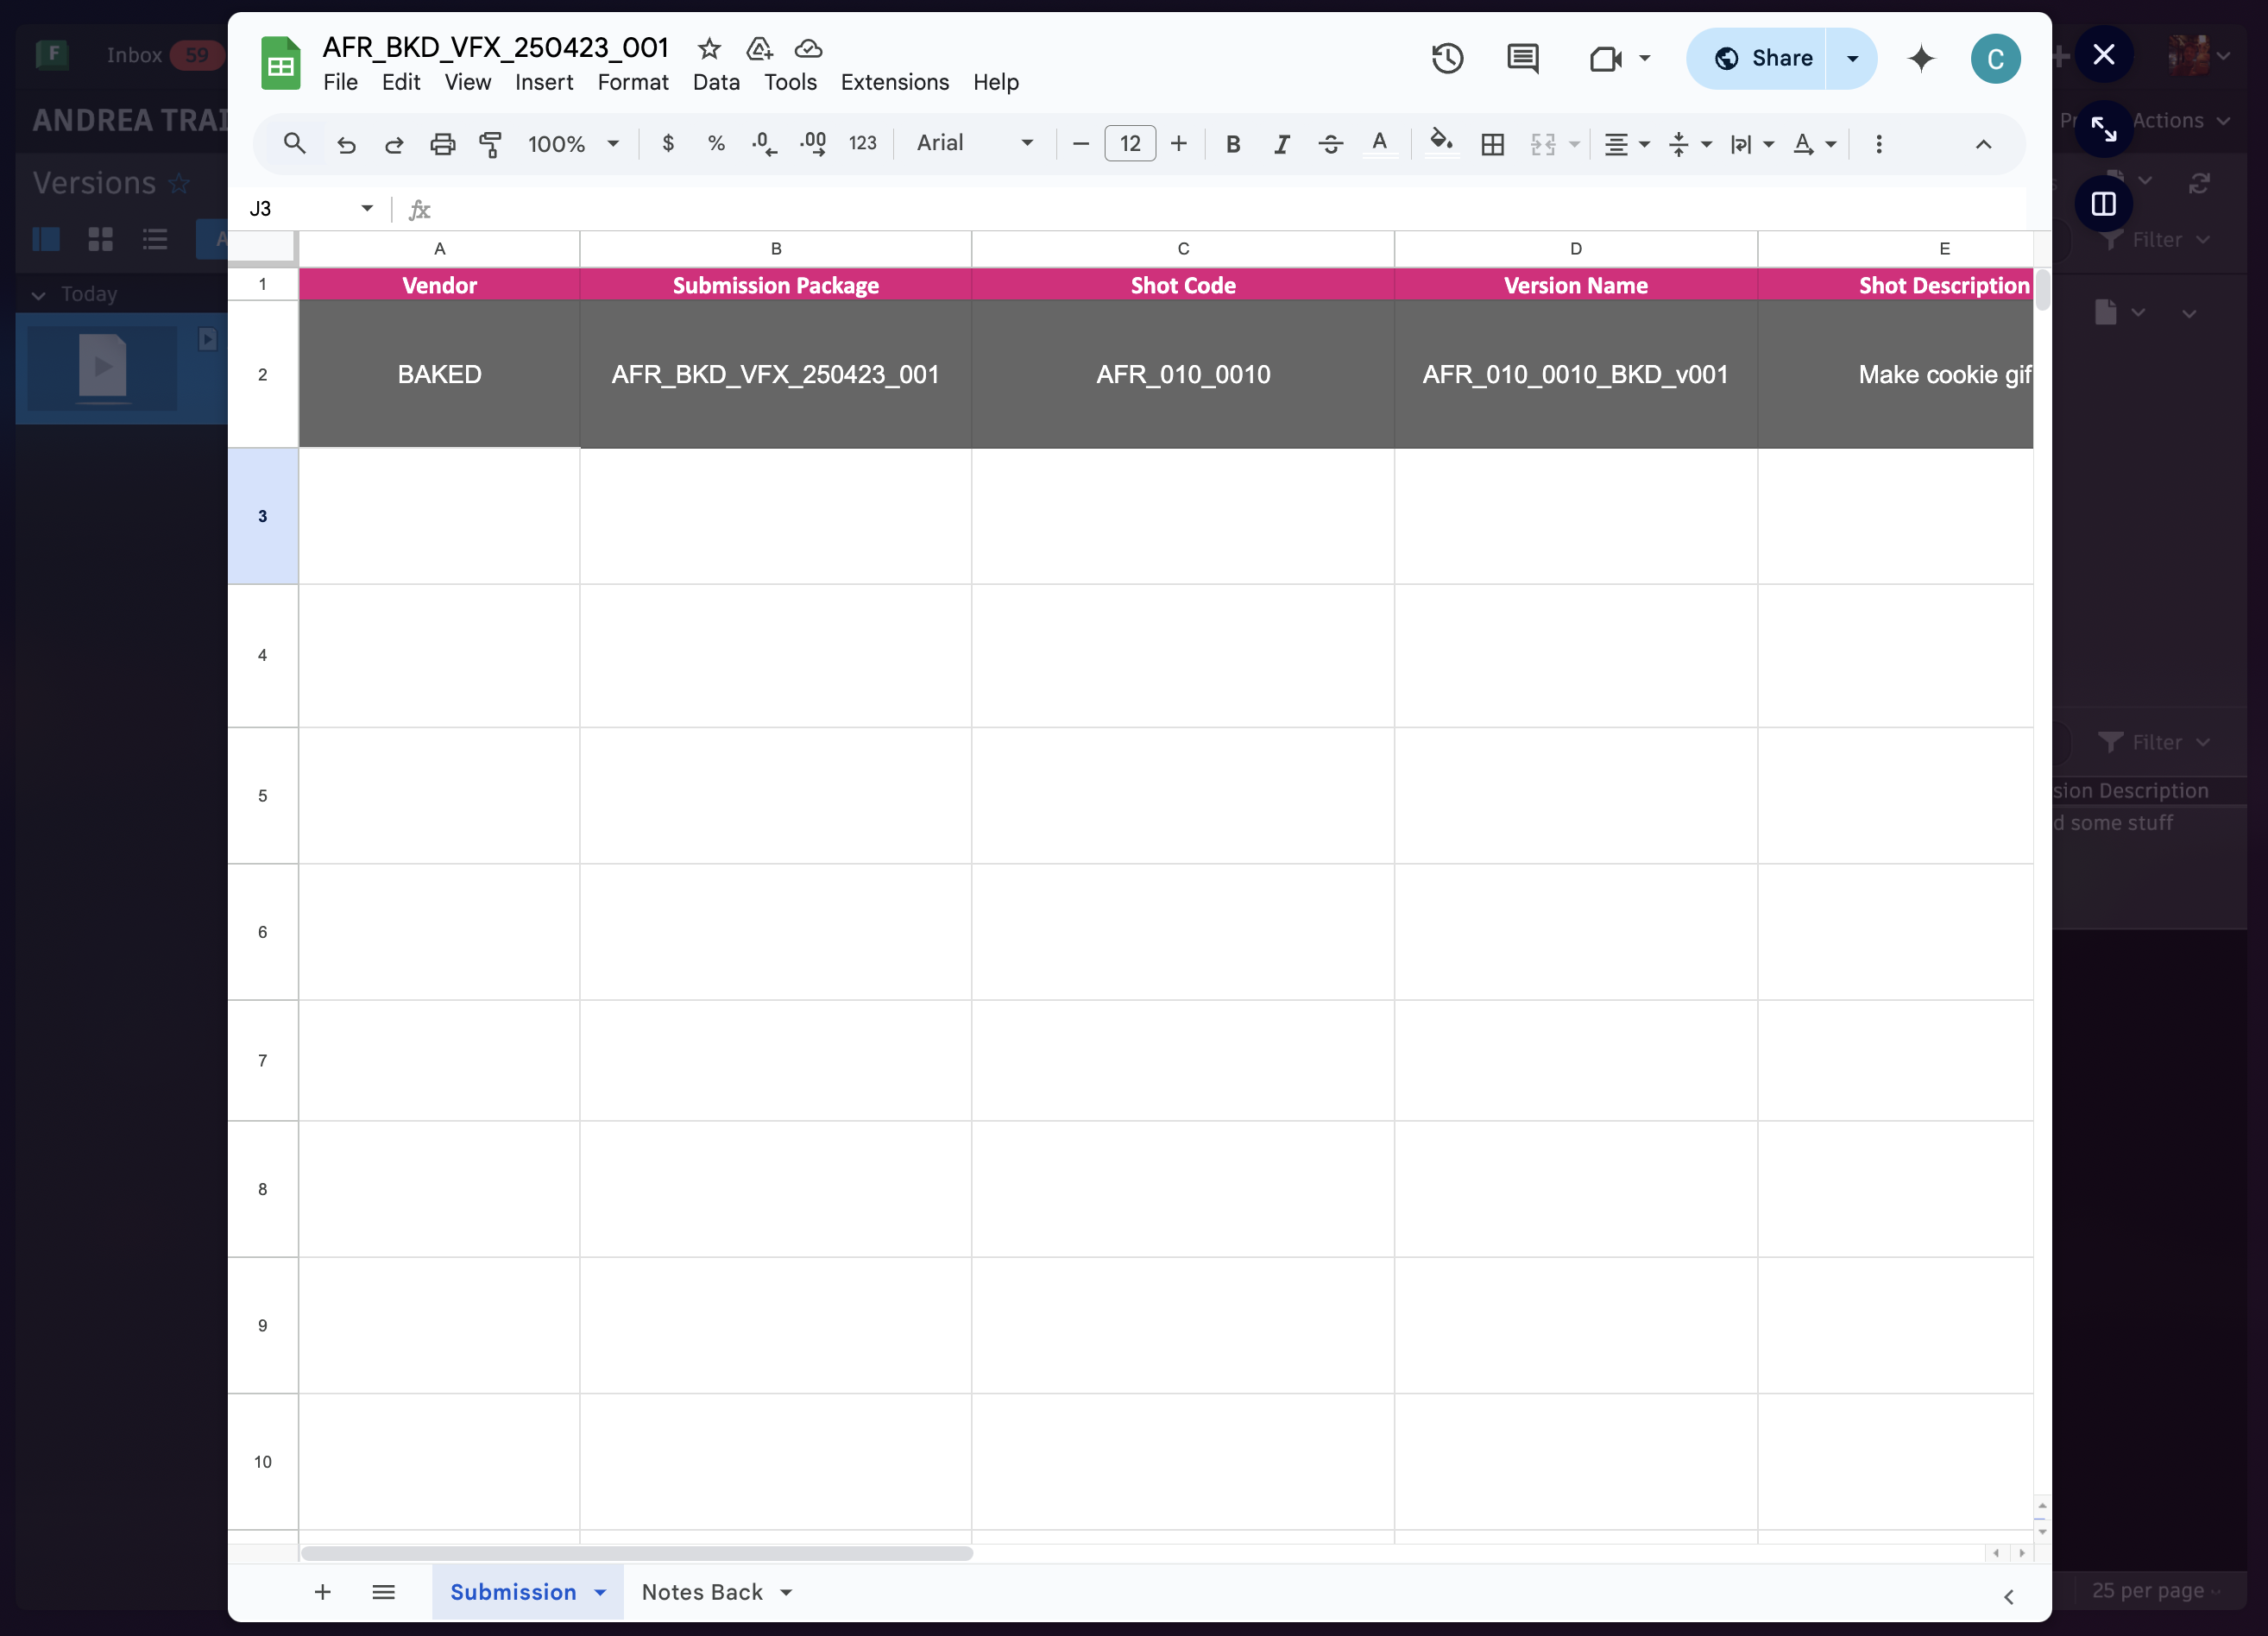
This step will automatically fill out the Submission Spreadsheet with shot information and details. The coordinator must ensure all shot codes match client's specified codes and names (if specified/provided by client) and verify that all information is accurate and client-appropriate.
Check the Latest Client Note and Submission Notes to make sure there aren’t any baked notes in the client note column (it will just pull the last note in sg), and anything in the submission note from the artist that the client doesn’t need to see. if it just describes what work was done/client note addressed, it can be included, but if it describes addressing internal notes or anything else, it should be deleted. Handle and DNX column can be deleted as well on a project basis.
Once everything is confirmed to be correct, the coordinator can then share the spreadsheet link with the client via email along with the MASV or Simian link with the delivery.
When sending the email to client with delivery/submission, spreadsheet and media, make sure to include as part of the email the package/playlist name and version names that are part of such playlist for client to reference.
If one of the versions is being sent out as WIP, specify it in the spreadsheet. If the client does not refer to the spreadsheet, next to the version name write what is missing in the WIP.
MASV, Simian and Aspera
MASV Simian and Aspera are the three main tools used at Baked to share files with clients.Simian can be used to transfer smaller files, while MASV and Aspera are the best tools for large file transfer. They are a secure method to transfer files by allowing the use of passwords to access media.
Sharing files with Simian
Simian is used for client reviews rather than final deliveries since it can only manage smaller files. Files can be shared by following the steps below:
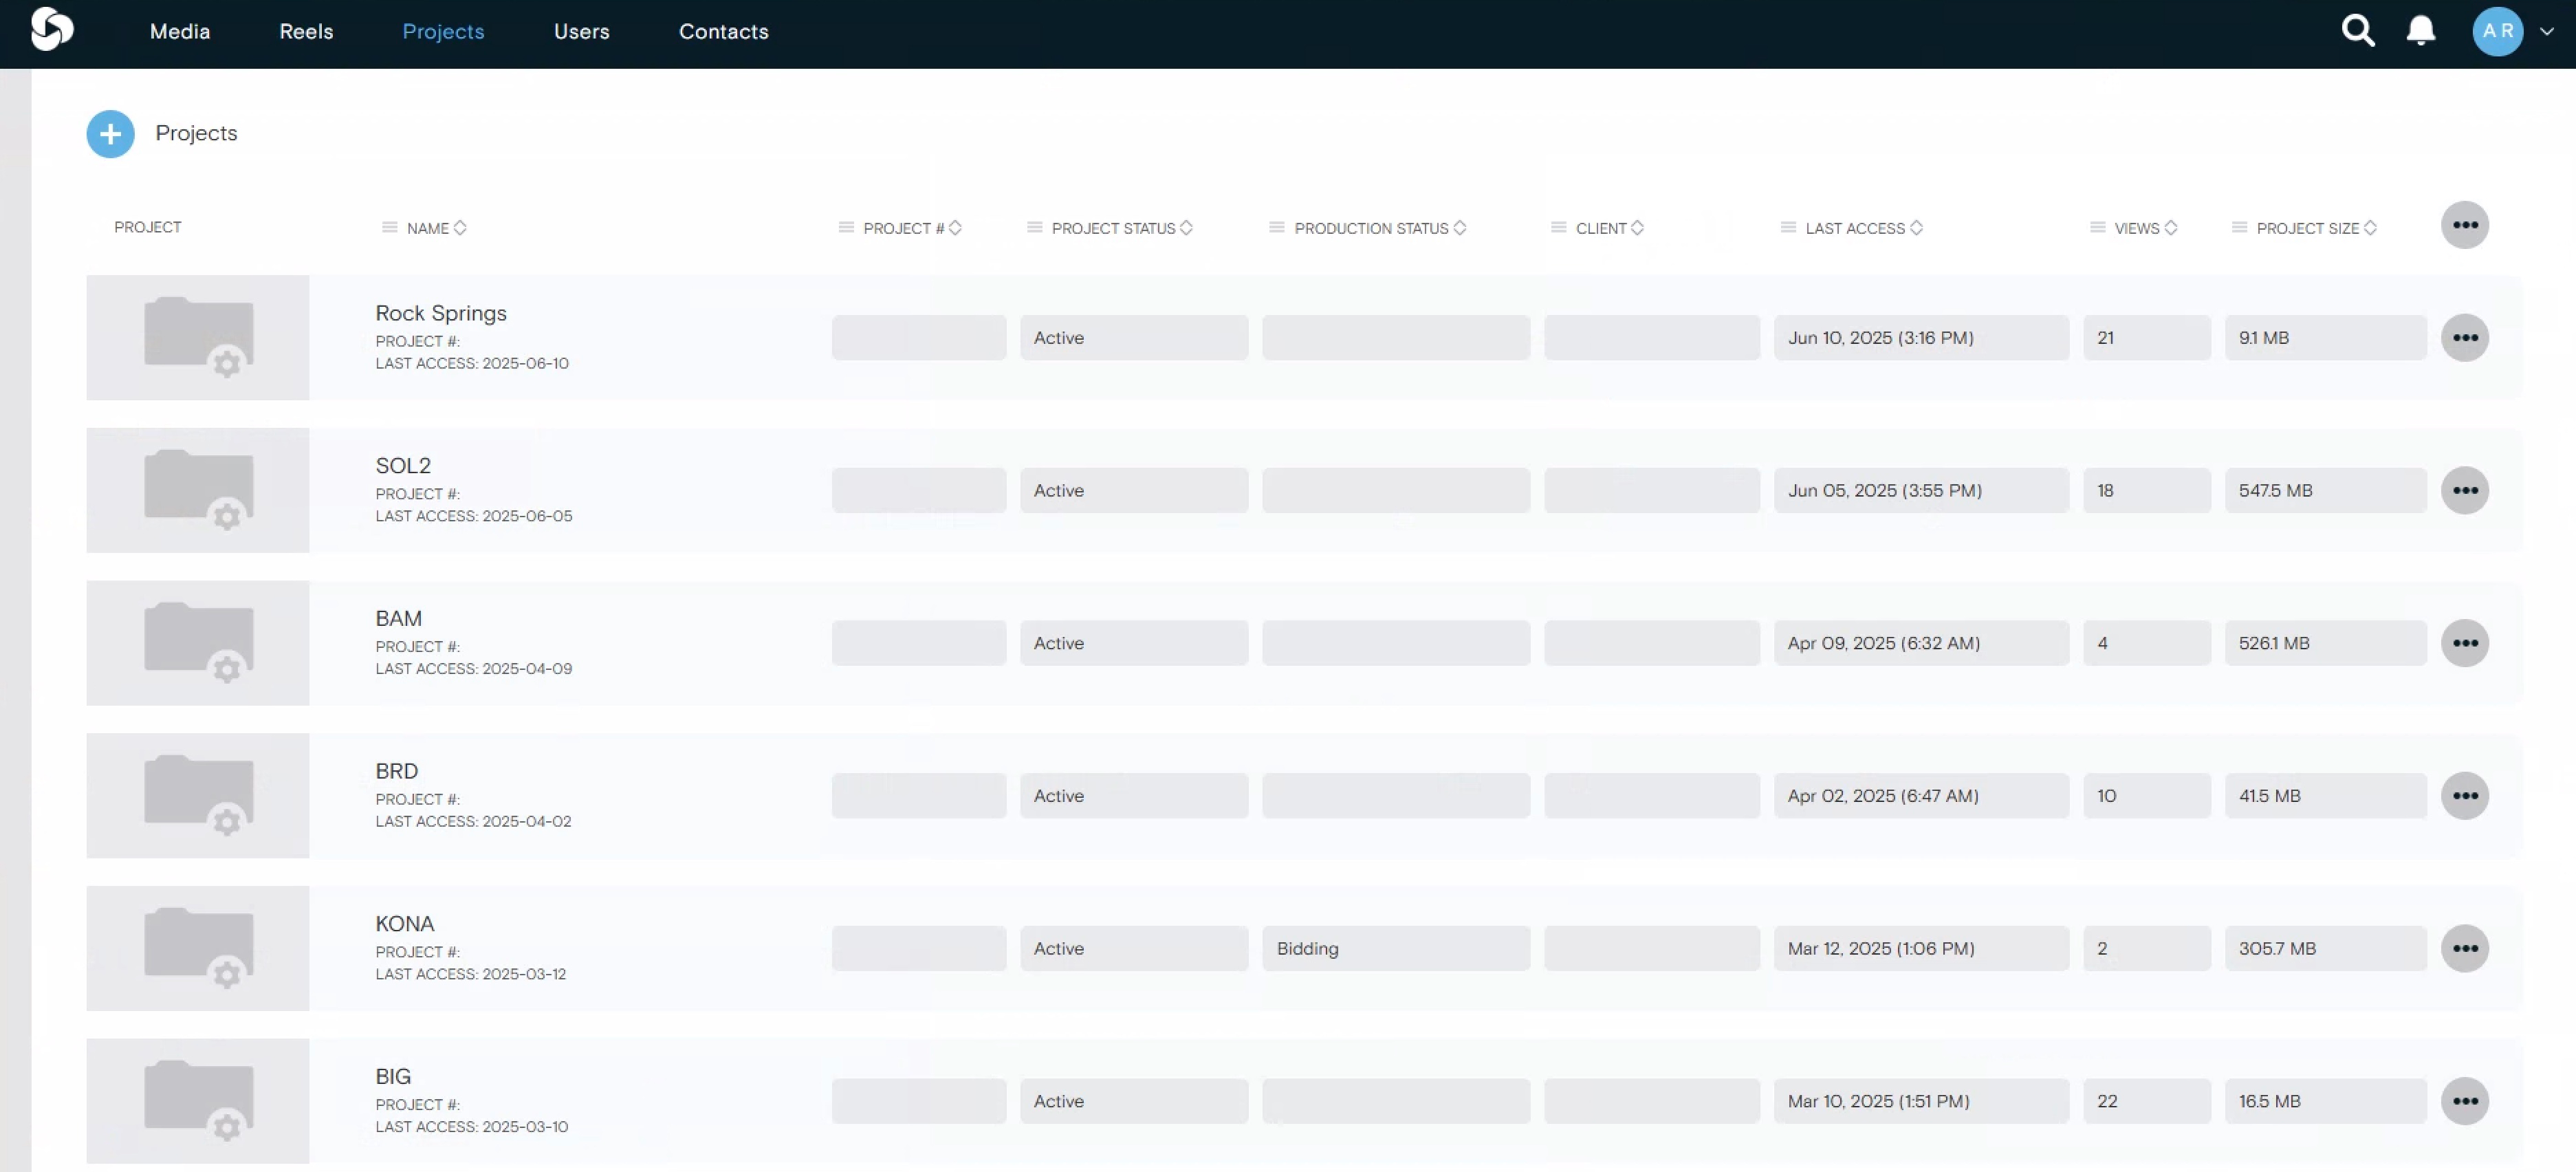
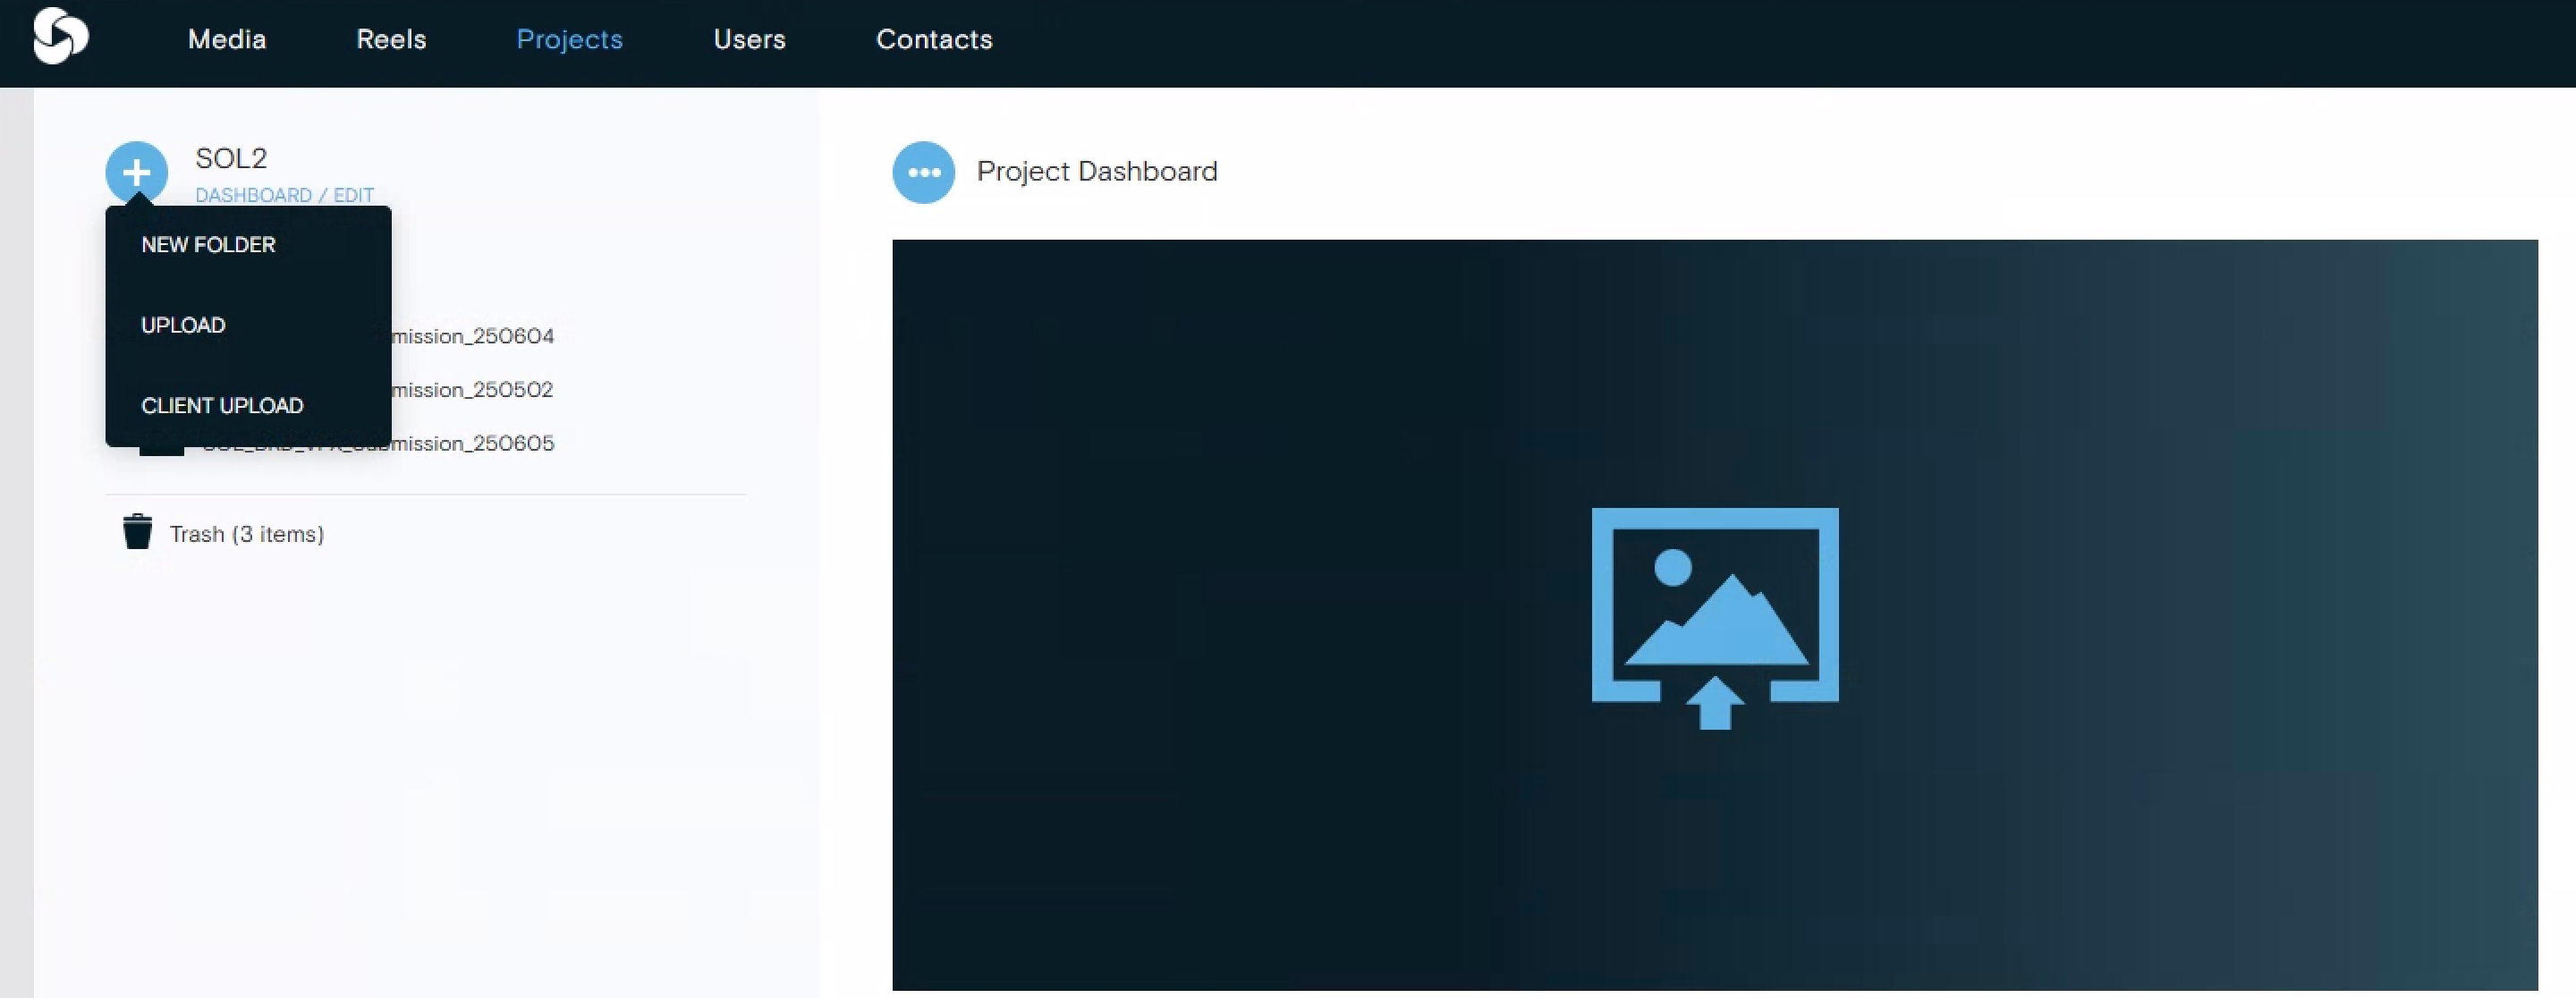
- Within the projects tab, select the corresponding project to which you are going to upload files to.
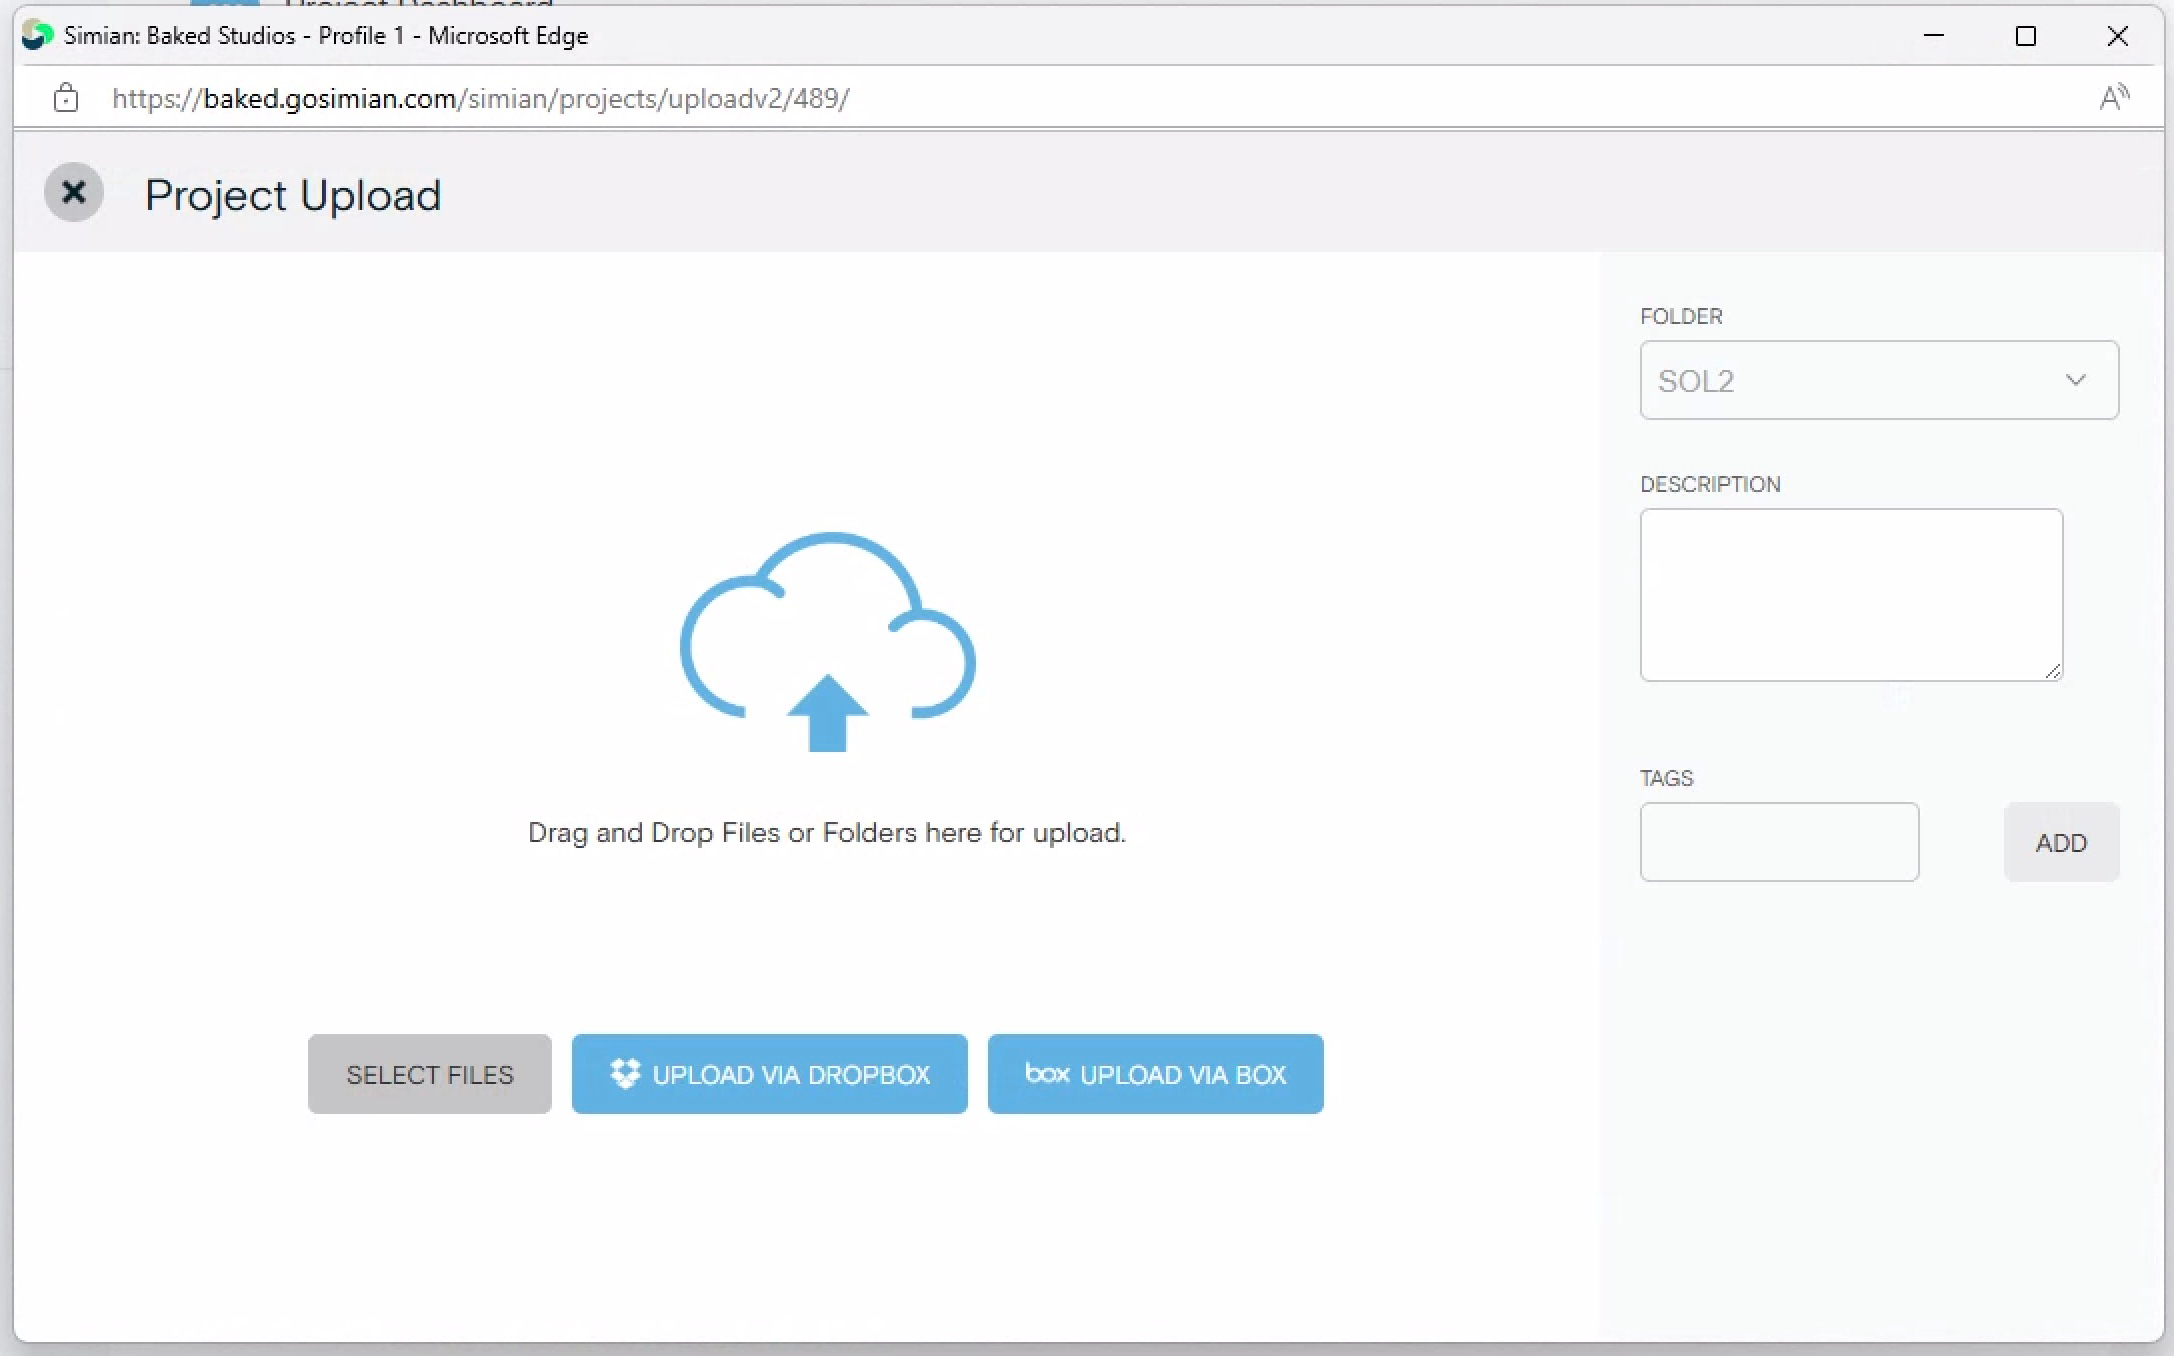
- Click the + sign and upload to add the playlist that live in the Basket 1_IO Export folder
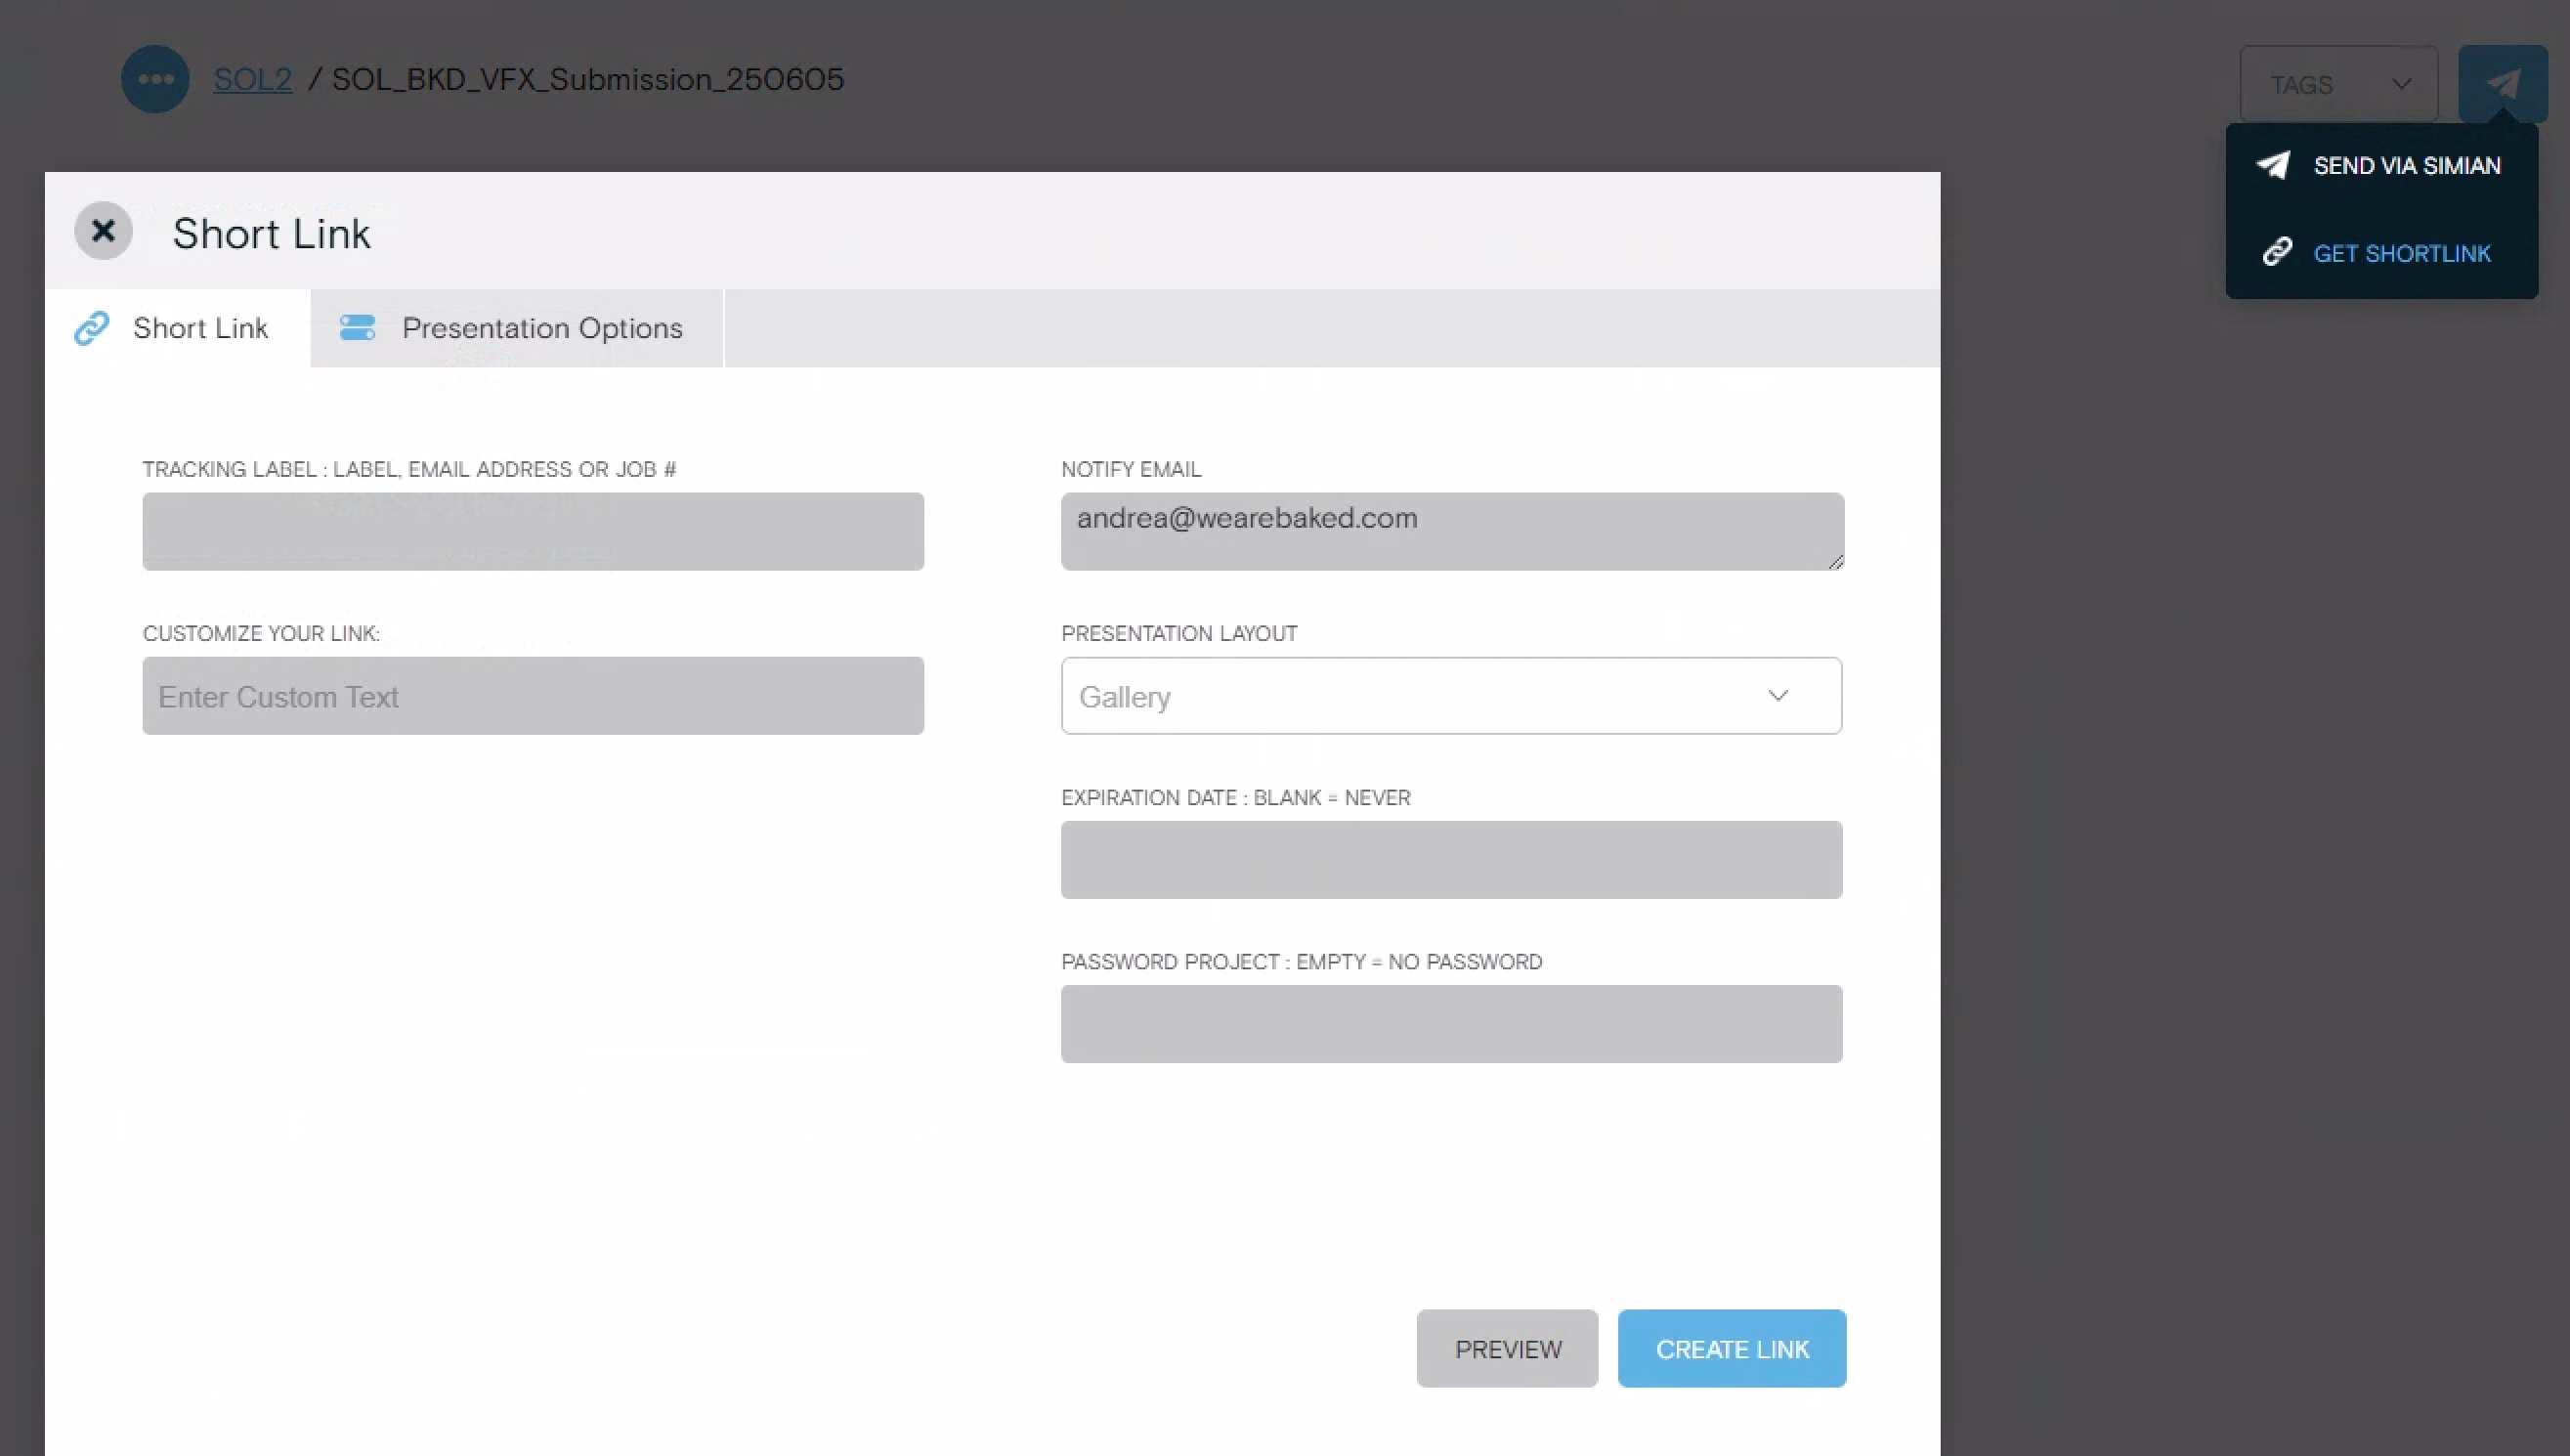
- After it finishes uploading,select the playlist. Click on the paper airplane symbol on the far right and short link to customize.
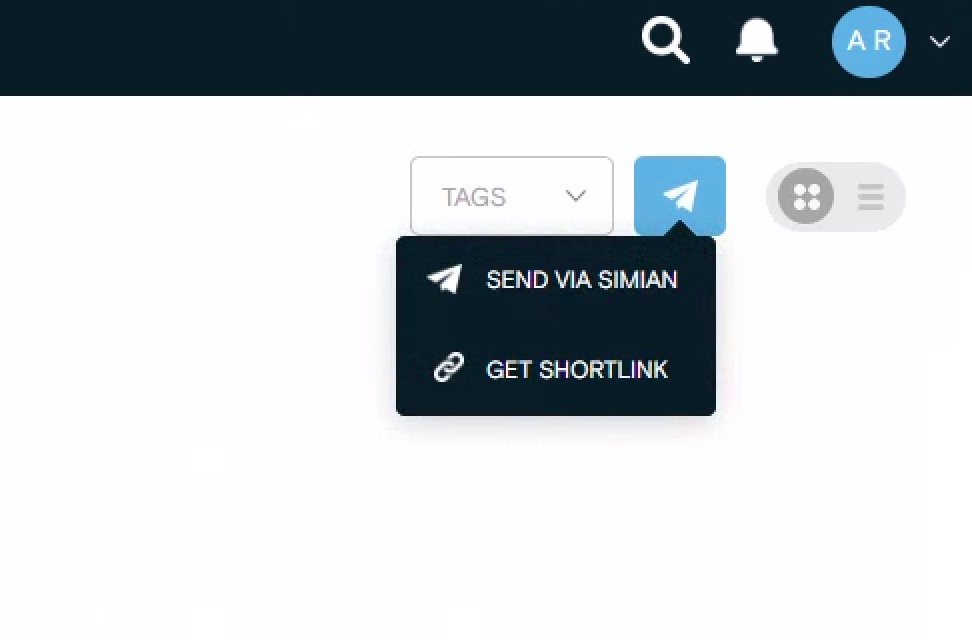
-
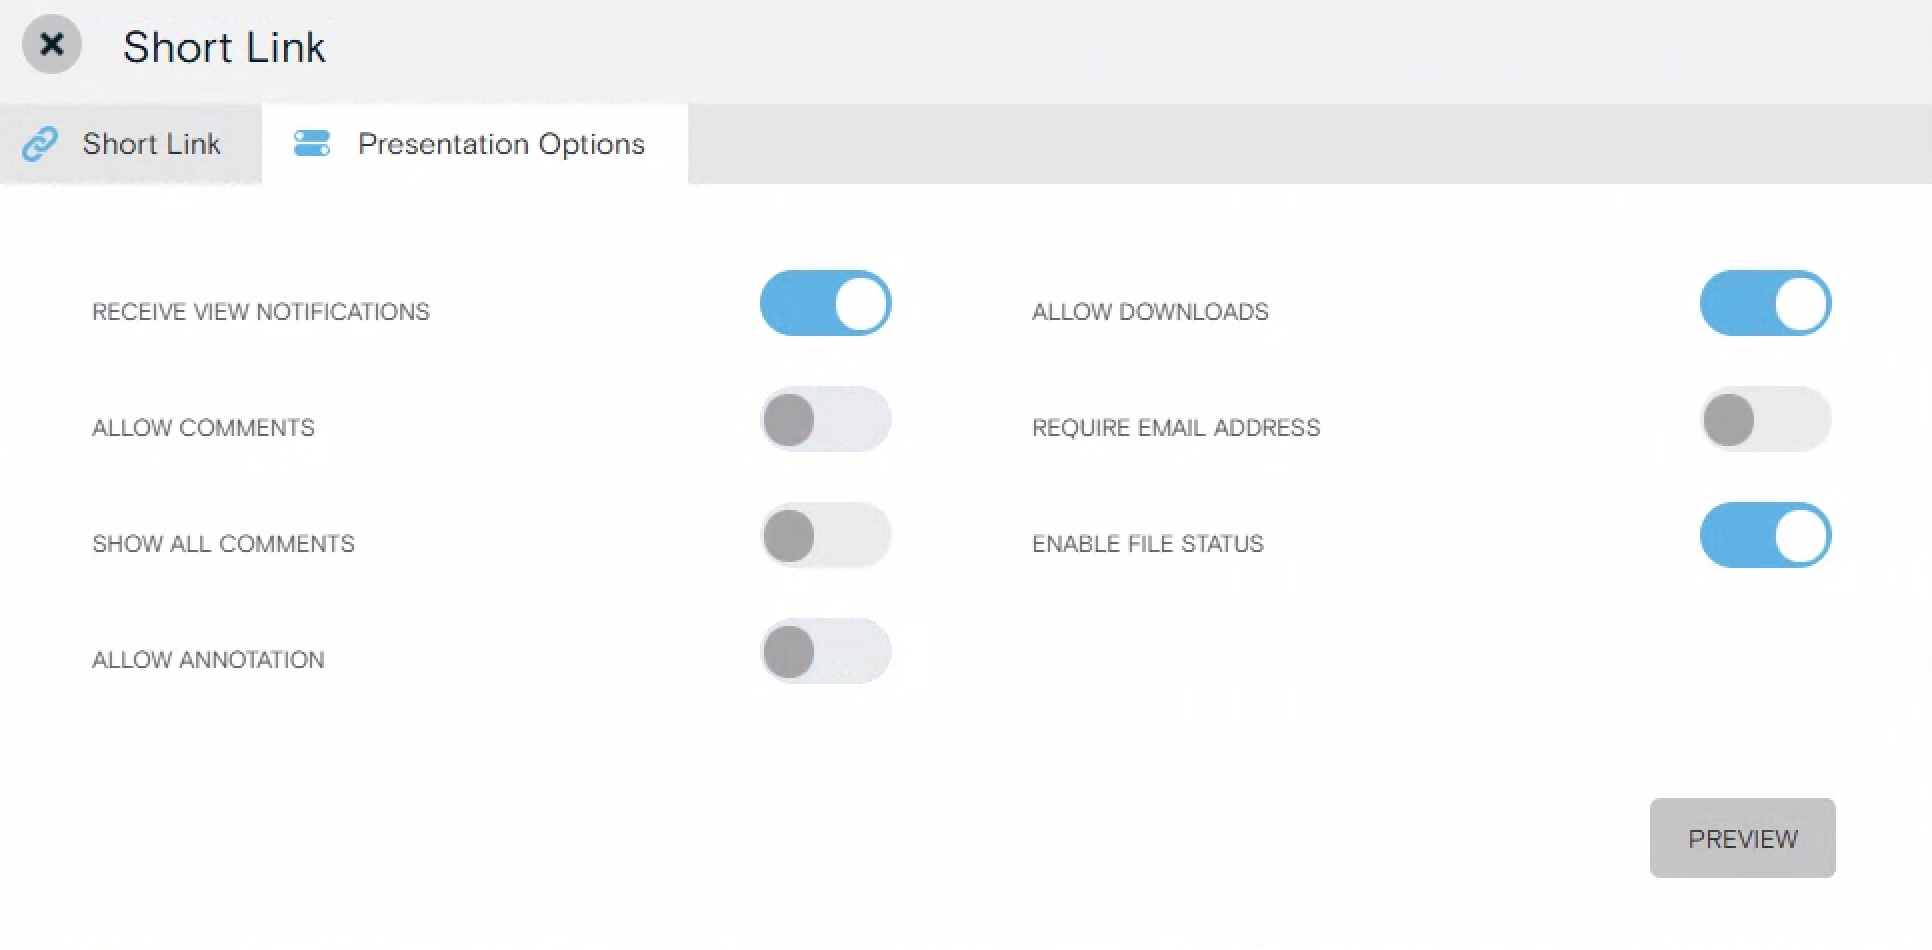
Turn off allow comments and annotation within Presentation Options tab. This evades the clients from including any anotations keeping all notes and important feedback within one place (spreadsheet or email).
-
Name the link the same way as the Playlist and add a password if needed. Click create link and copy the generated link to include within the email.
When the client receives the Simian link, they will be able to access the media and download it.
MASV
Within MASV, users have the option of creating portals to request files from Client or generate links to send files internally.
To prepare files within MASV it is better to upload those through the app than the browser. The browser is only used to create portals.
When creating a portal for a show, make sure to include the following information:
- A domain unique for the project
- The name of the project
- Recipients (It is usually just project manager and coordinator, but this may vary depending on the project.)
- Tag: Project Code
- Check "Send an email confimation when someone uploads to this Portal"
Once the portal is created, you can select it to send files through the app.
An advantage of using MASV to transfer files is that Automations can be set up; alowing files to automatically download to the 1_IO folder in Basket, immediately after receiving them from client. To do this, simply add a "New Automation" in the MASV desktop app and select "Download from Portal". Name the automation, Select the portal for the project, and include the destination folder for the respective project. Make sure to uncheck "Create a parent folder for every package"
For organization purposes, make sure to never create parent folder.
Passwords can be added only if needed, but it's not preffered.
IBM Aspera
Aspera is a tool mostly used to transfer files to DI. Most commonly used by CO3 (external color vendor whom we work with often). Commonly we would receive a link from vendor where we will be responsible to upload the delivery package to.
When uploading the delivery package, the only things to keep in mind are the following:
- Title: Package Name (Eg: ProjectCode_BKD_VFX_Submission_date)
- Password: (usually the same one provided by client)
- Upload folder
Bookmark the aspera link into your browser.